1. Getting Started
💿 1.1. Rename the .env.example file to → .env and set the following values (although you can come back to this step later):
Required:
- DATABASE_URL - any Prisma supported database connection string
- SERVER_URL - (http://localhost:3000 on dev, site’s URL on prod)
- SESSION_SECRET - any secure string
- ADMIN_EMAIL - your admin user
- ADMIN_PASSWORD - don’t commit your .env file
Optional:
- APP_NAME - eg: My SaaS app
- STRIPE_SK - click here to get the secret key
- POSTMARK_SERVER_TOKEN - create a free Postmark email server here
- POSTMARK_FROM_EMAIL - Postmark sender signature (eg: hello@yoursaas.com)
- INTEGRATIONS_CONTACT_FORMSPREE - used for /contact URL (create a free form here)
- SUPPORT_EMAIL - used for emails
- COMPANY_ADDRESS - used for emails
💿 1.2. Open the schema.prisma file and set the datasource provider: sqlite, postgresql… (I recommend using sqlite for local dev).
💿 1.3. Generate and seed your database (if you get an error, delete the prisma/migrations folder).
npx prisma migrate dev --name init
If your using sqlite and your database gets messed up, you can always delete the prisma/dev.db file and run npx prisma db push again.
💿 1.4. Install modules and run the app (if you get and error, delete the package-lock.json file):
npm i
npm run dev
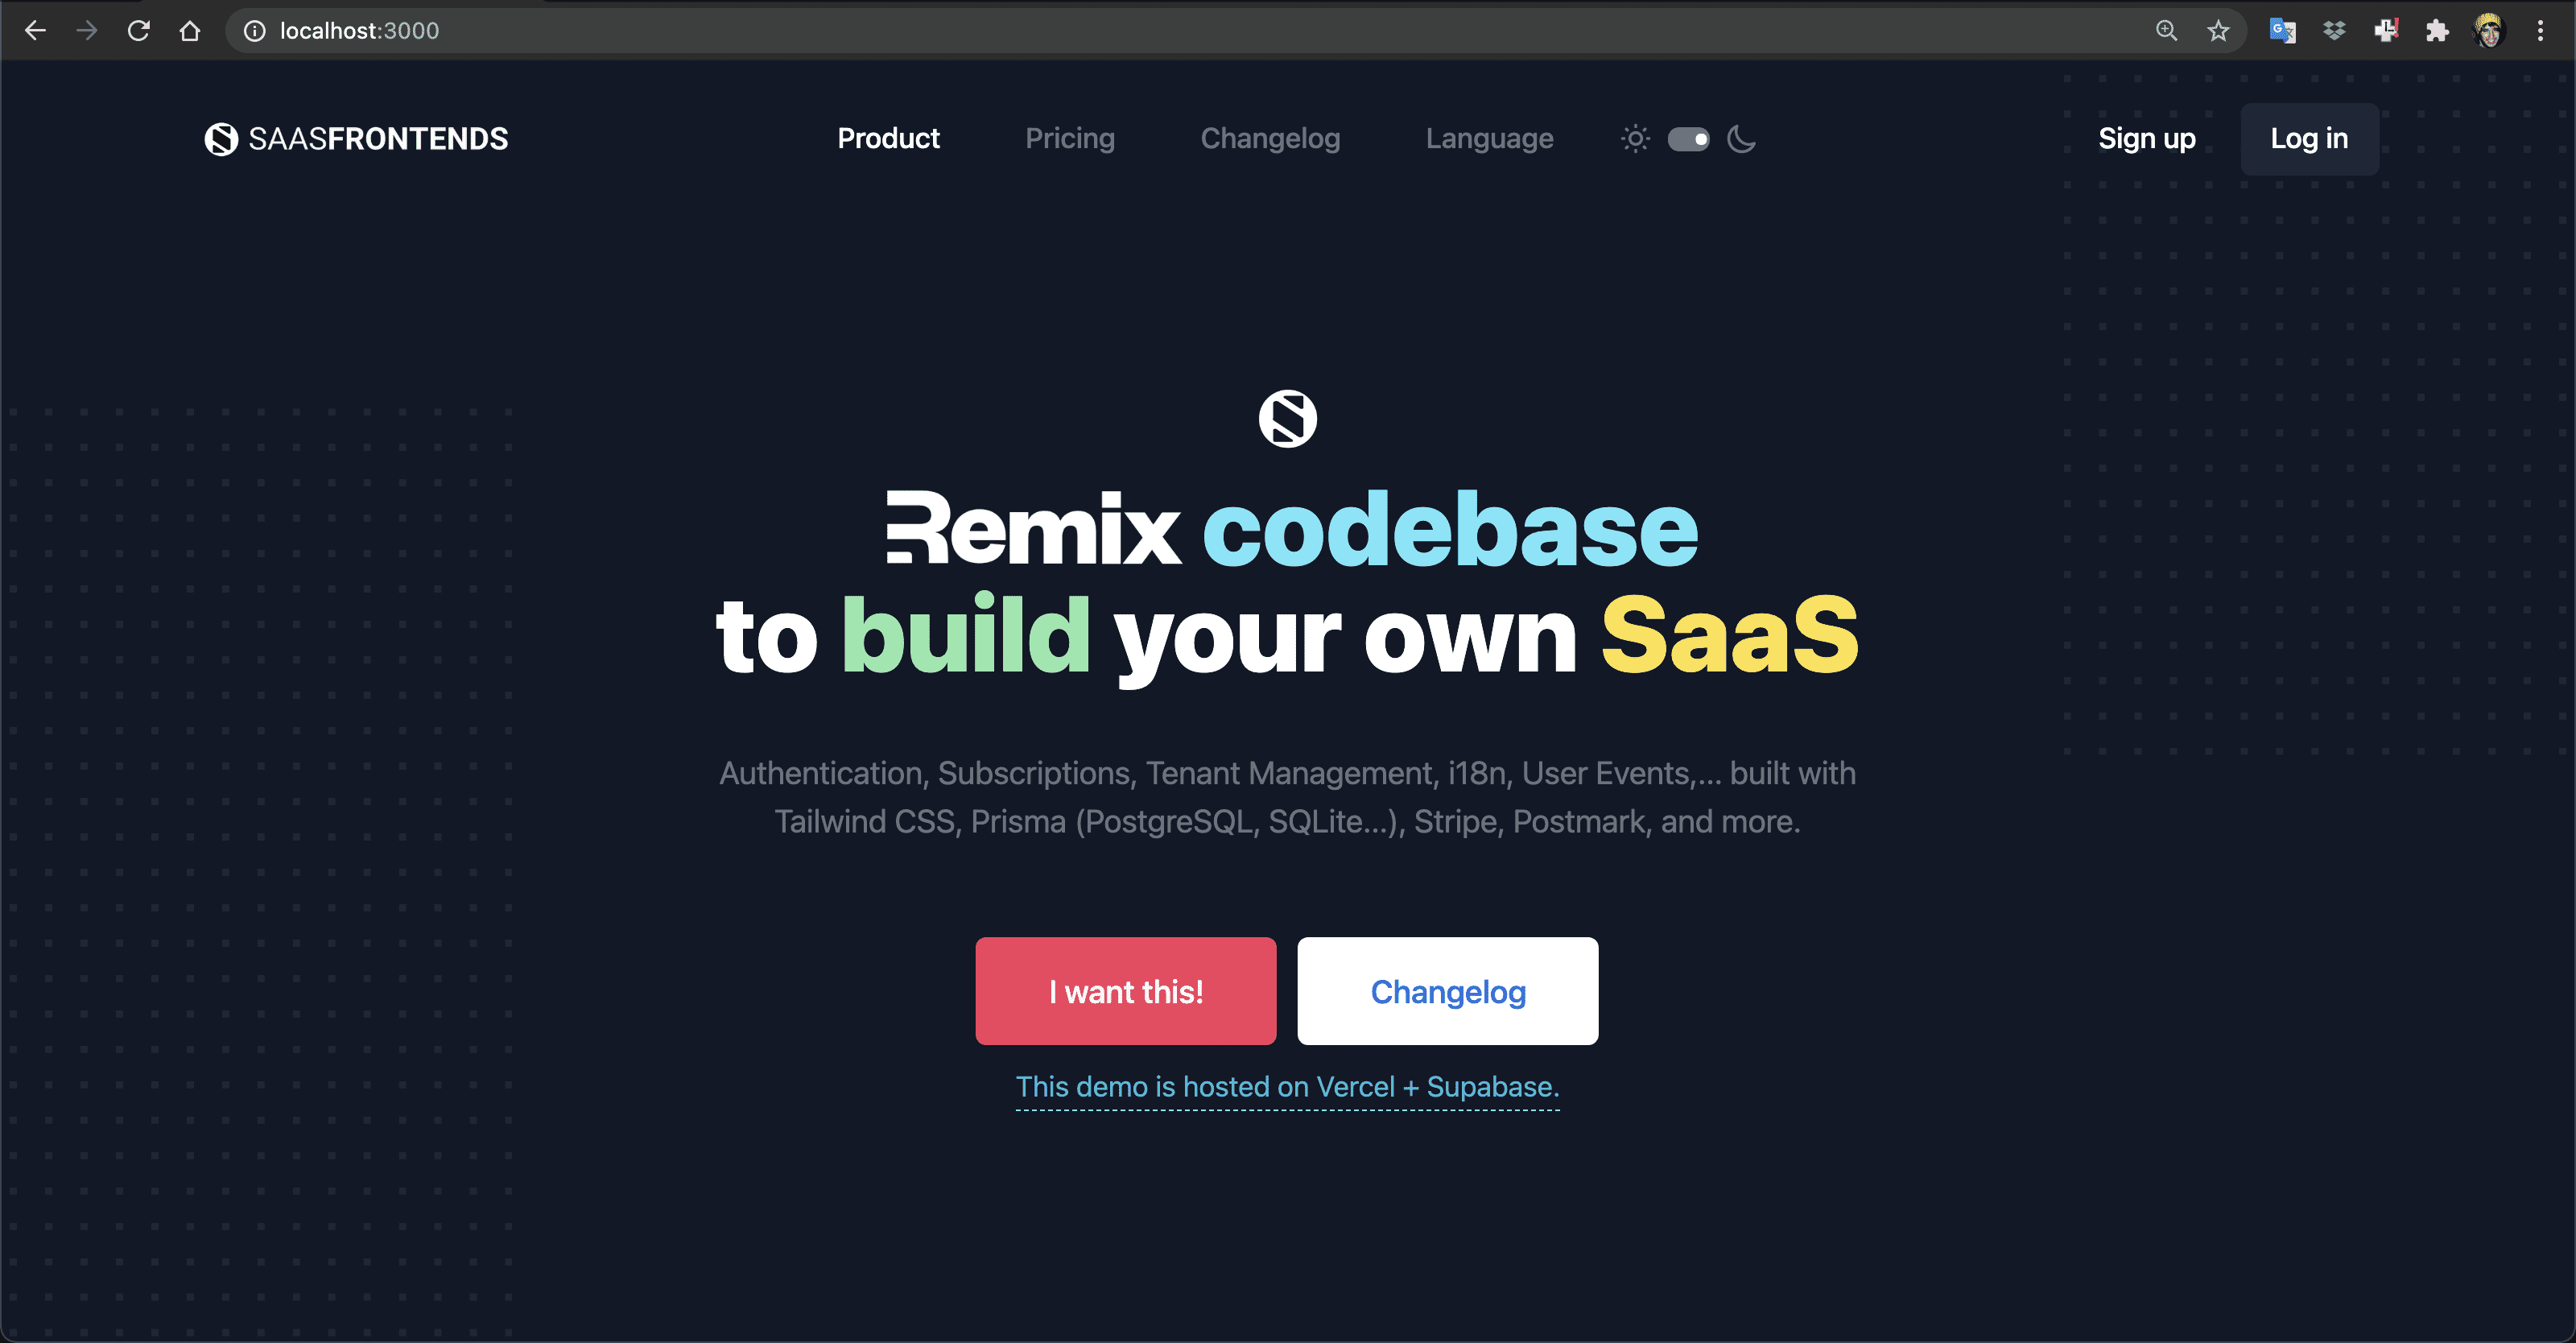
💿 1.5 Open localhost:3000 and play with the Light/Dark Mode toggle and Language Selector (English/Spanish).
2. Creating Pricing Plans
The next steps require that you set the SK_STRIPE env variable.
💿 2.1. Log in with your ADMIN_EMAIL and ADMIN_PASSWORD. You will be redirected to the /admin/dashboard.

💿 2.2. To generate the Stripe pricing plans go to /admin/setup/pricing.
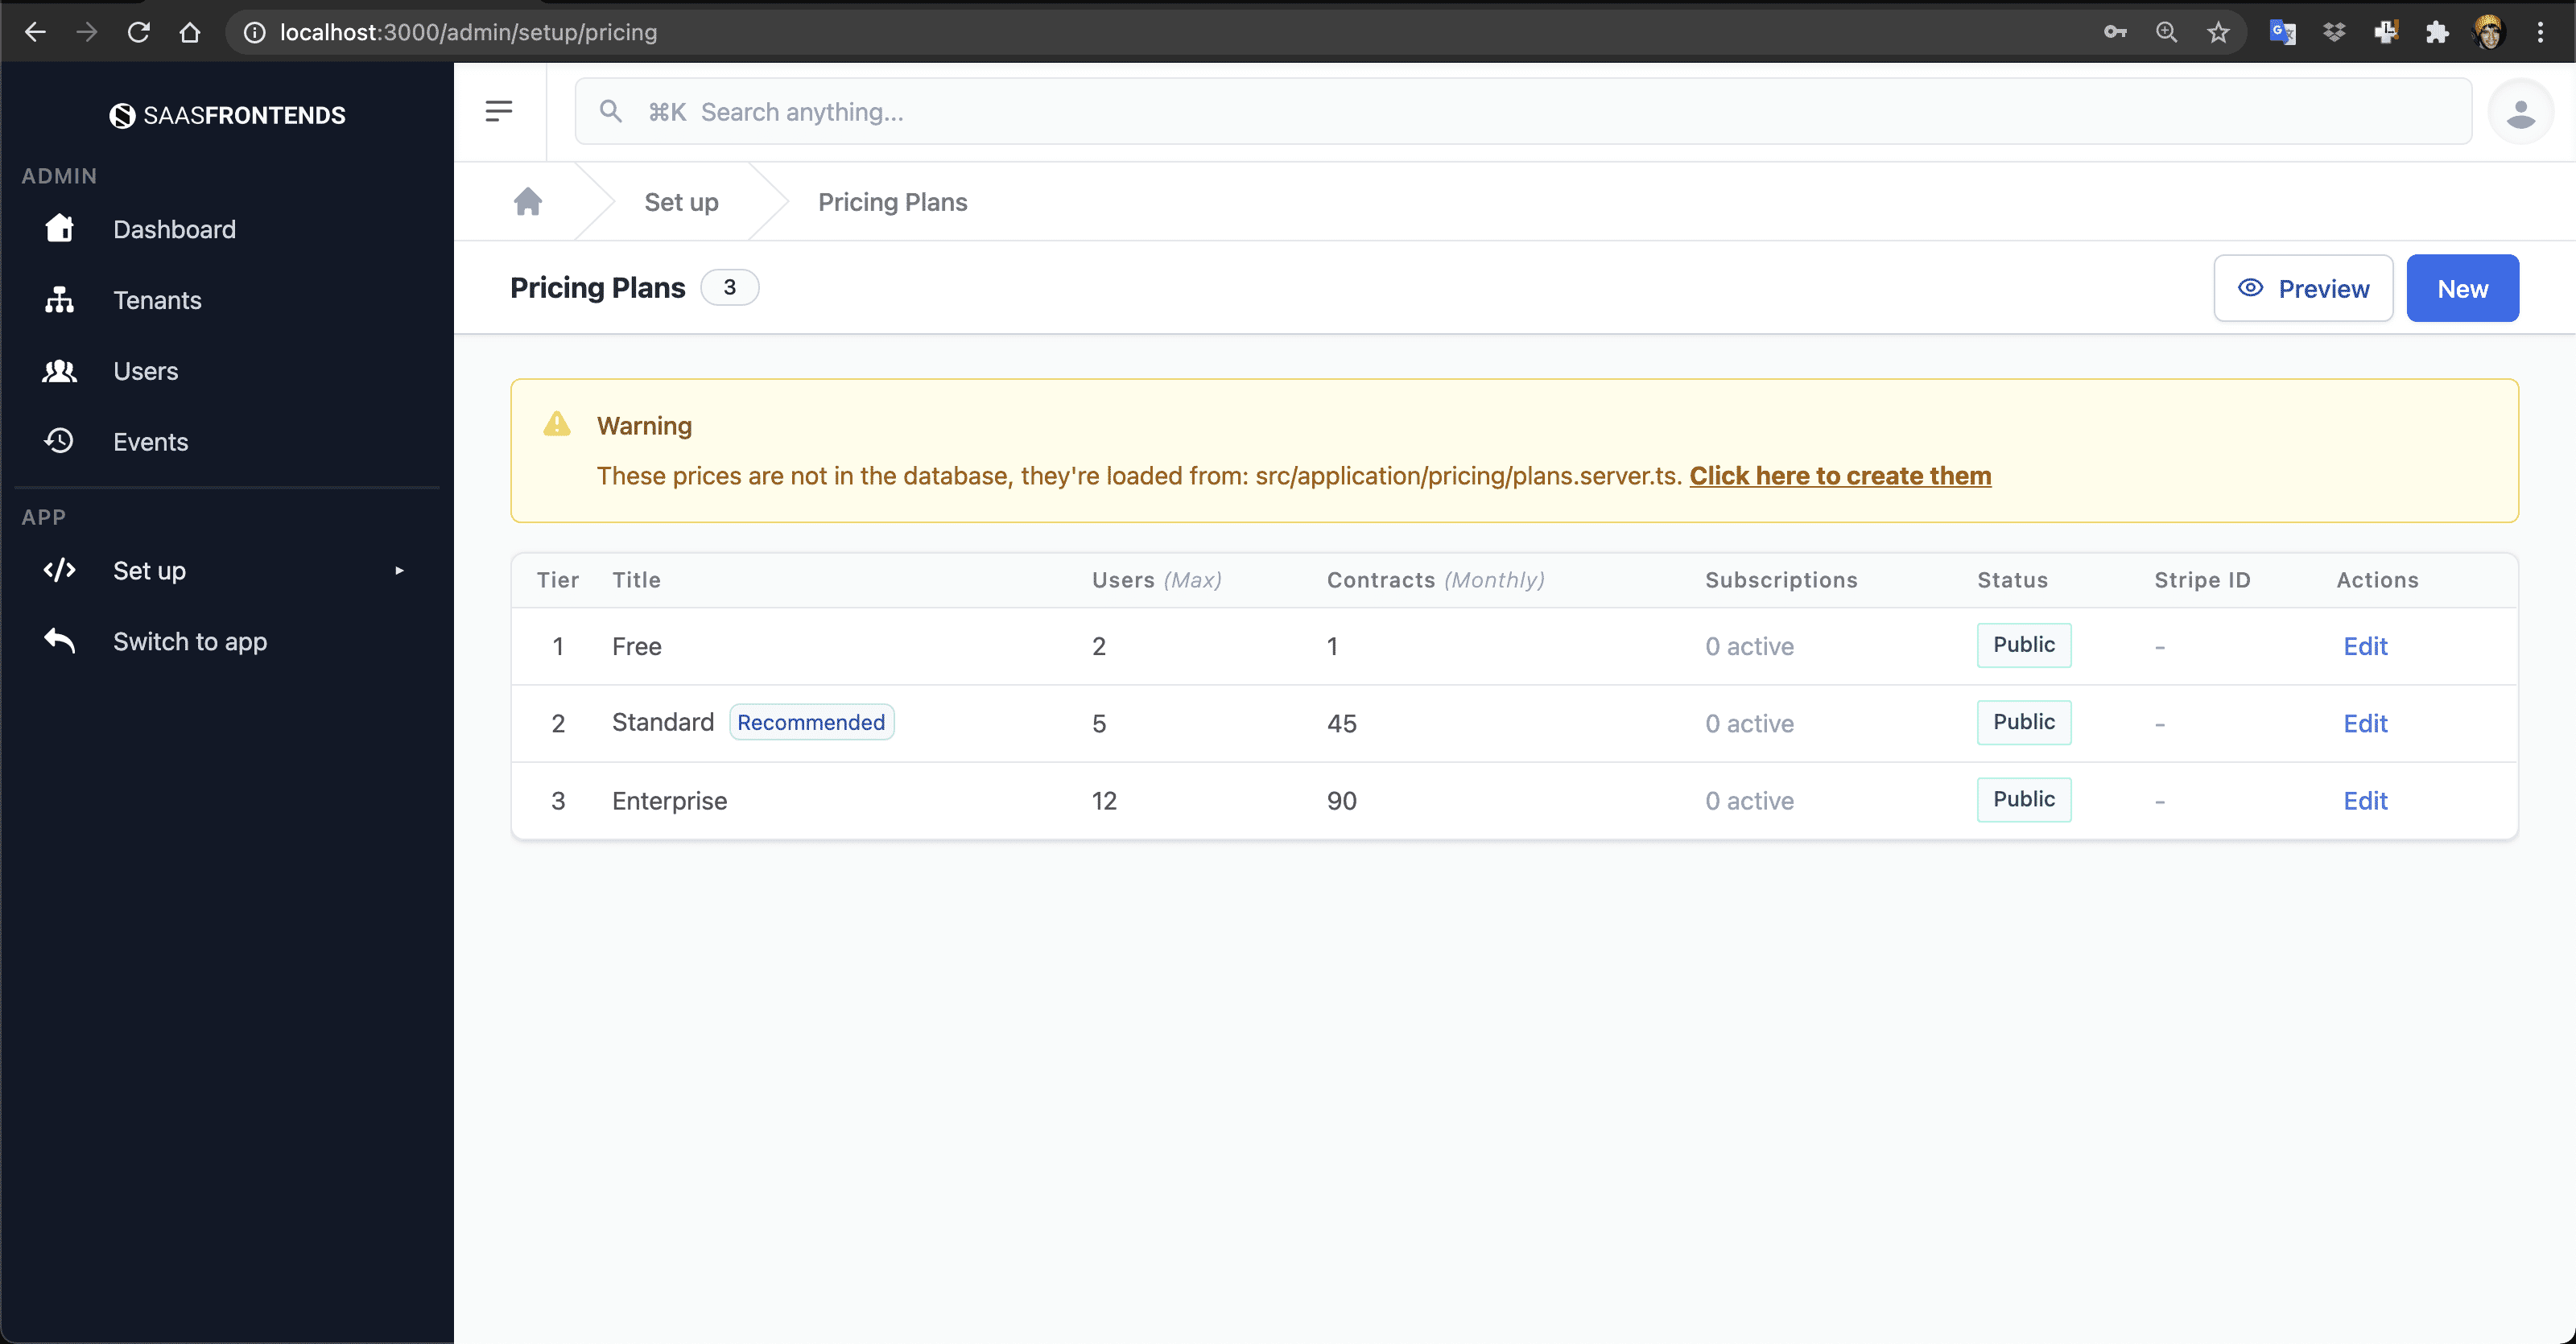
💿 2.3. Click on Click here to create them.
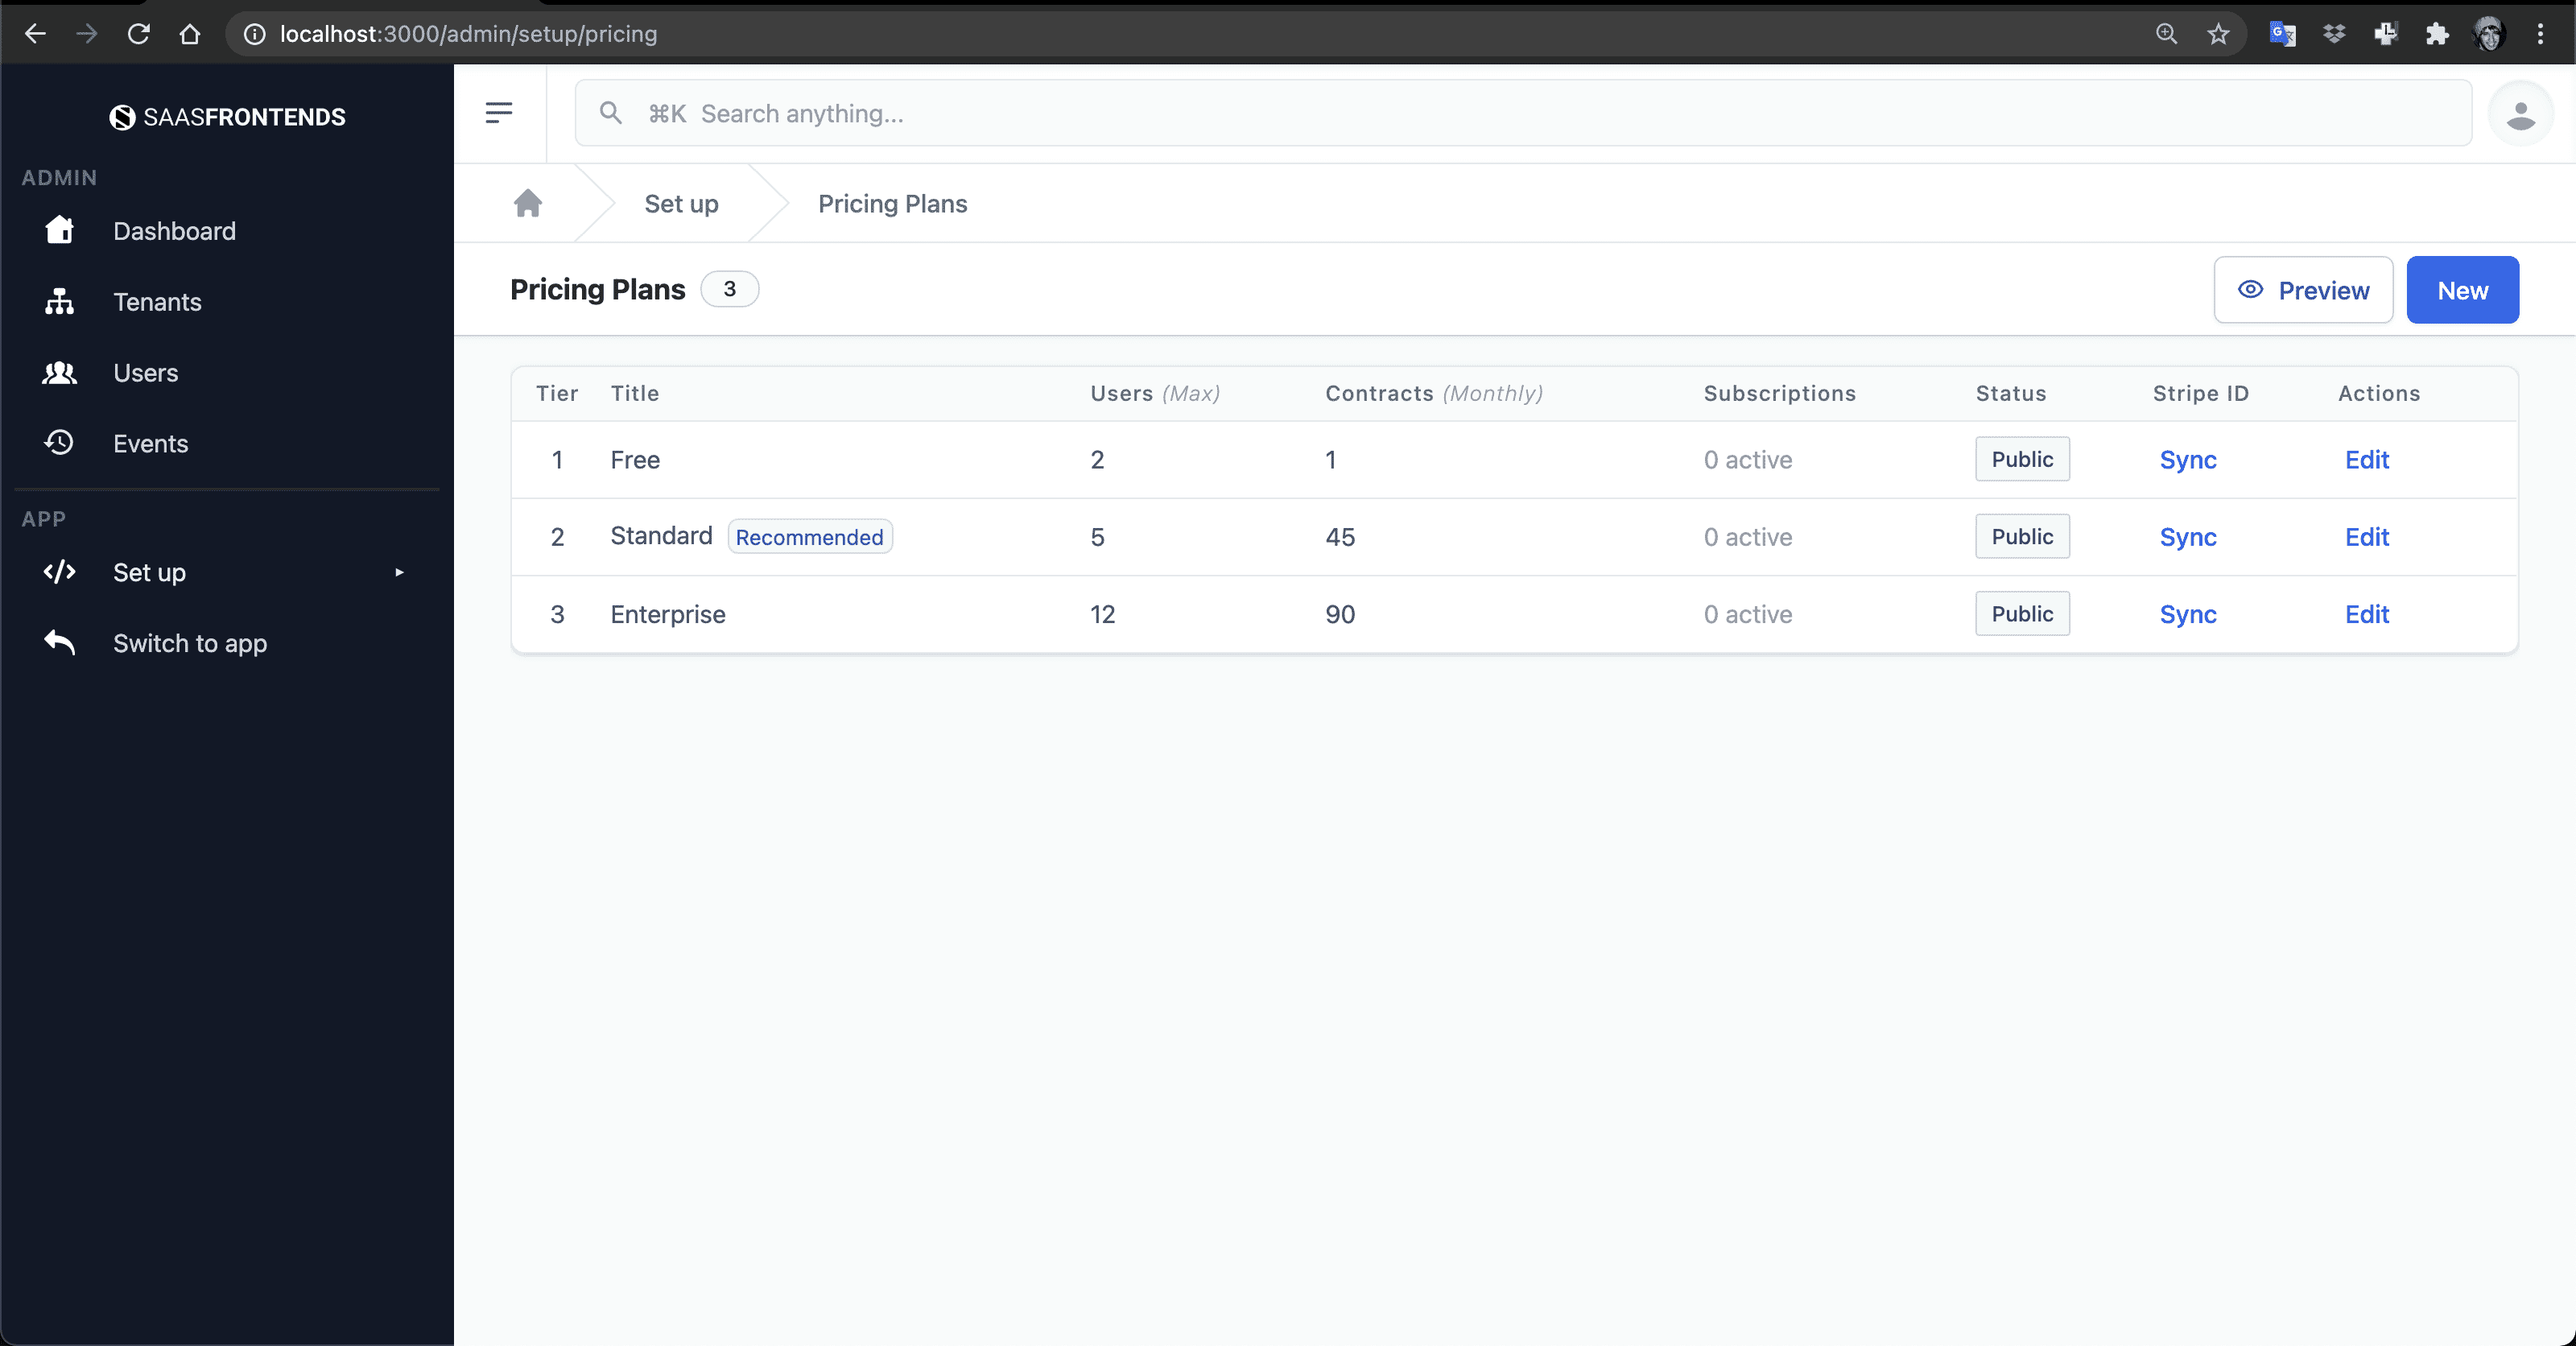
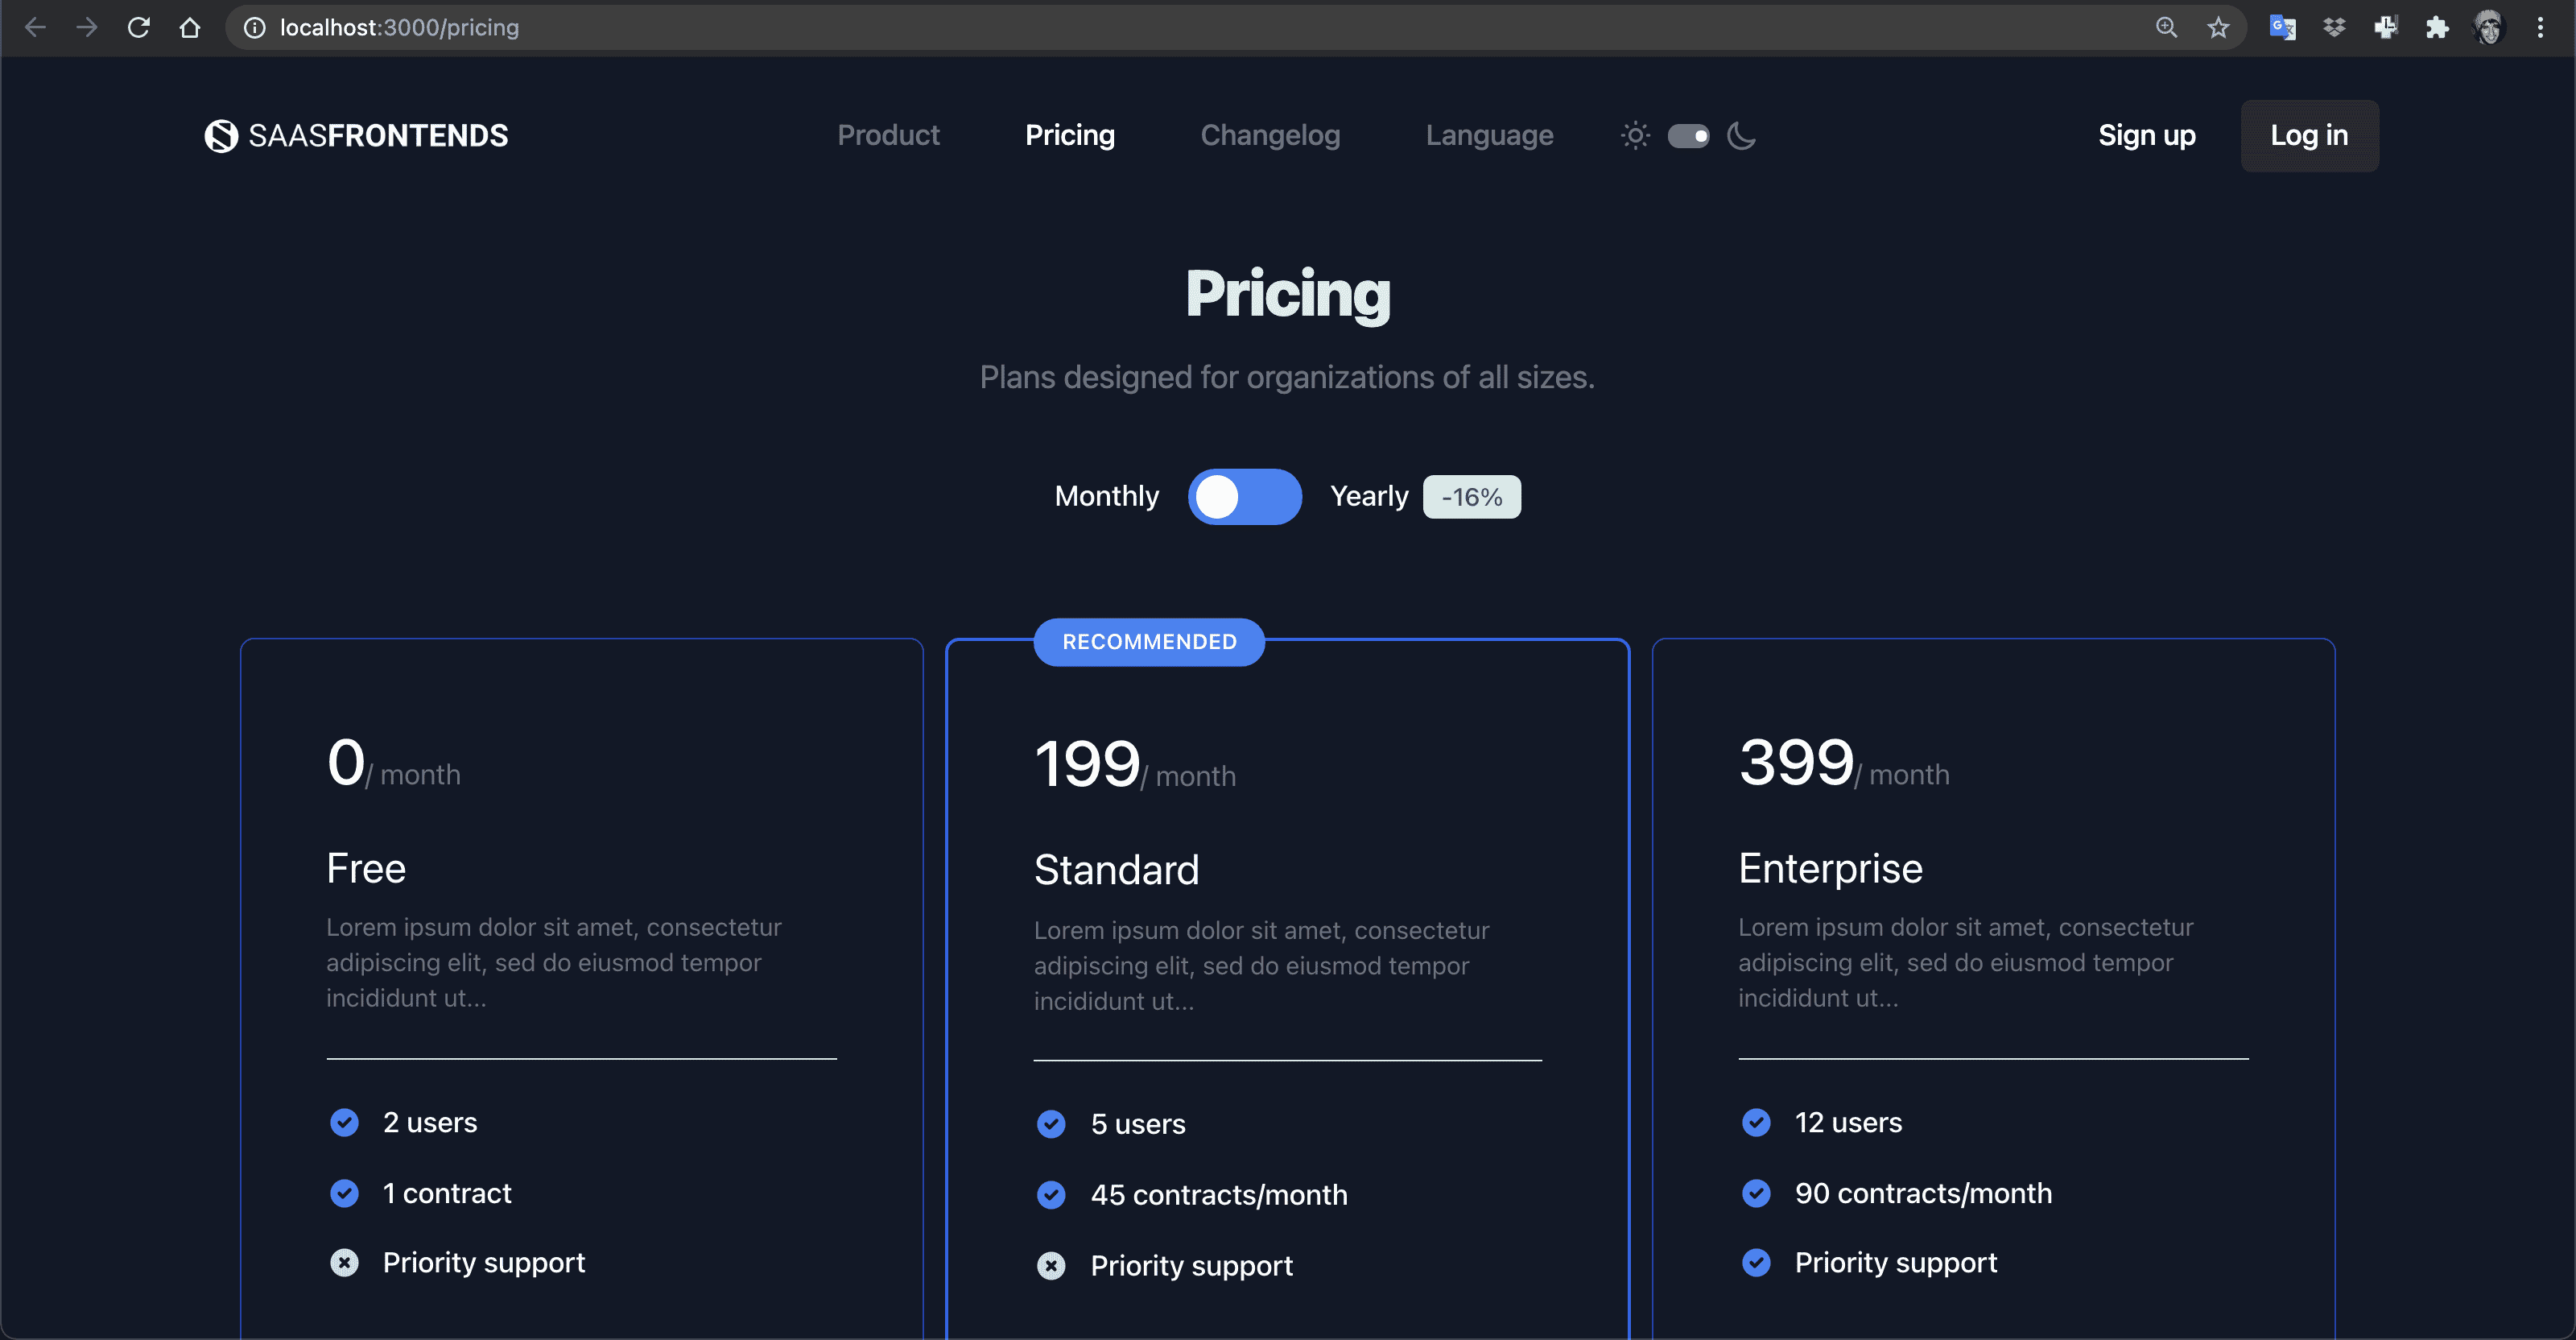
💿 2.4. Verify the created Stripe products at the /pricing page.
💿 2.5. Add a new pricing plan.
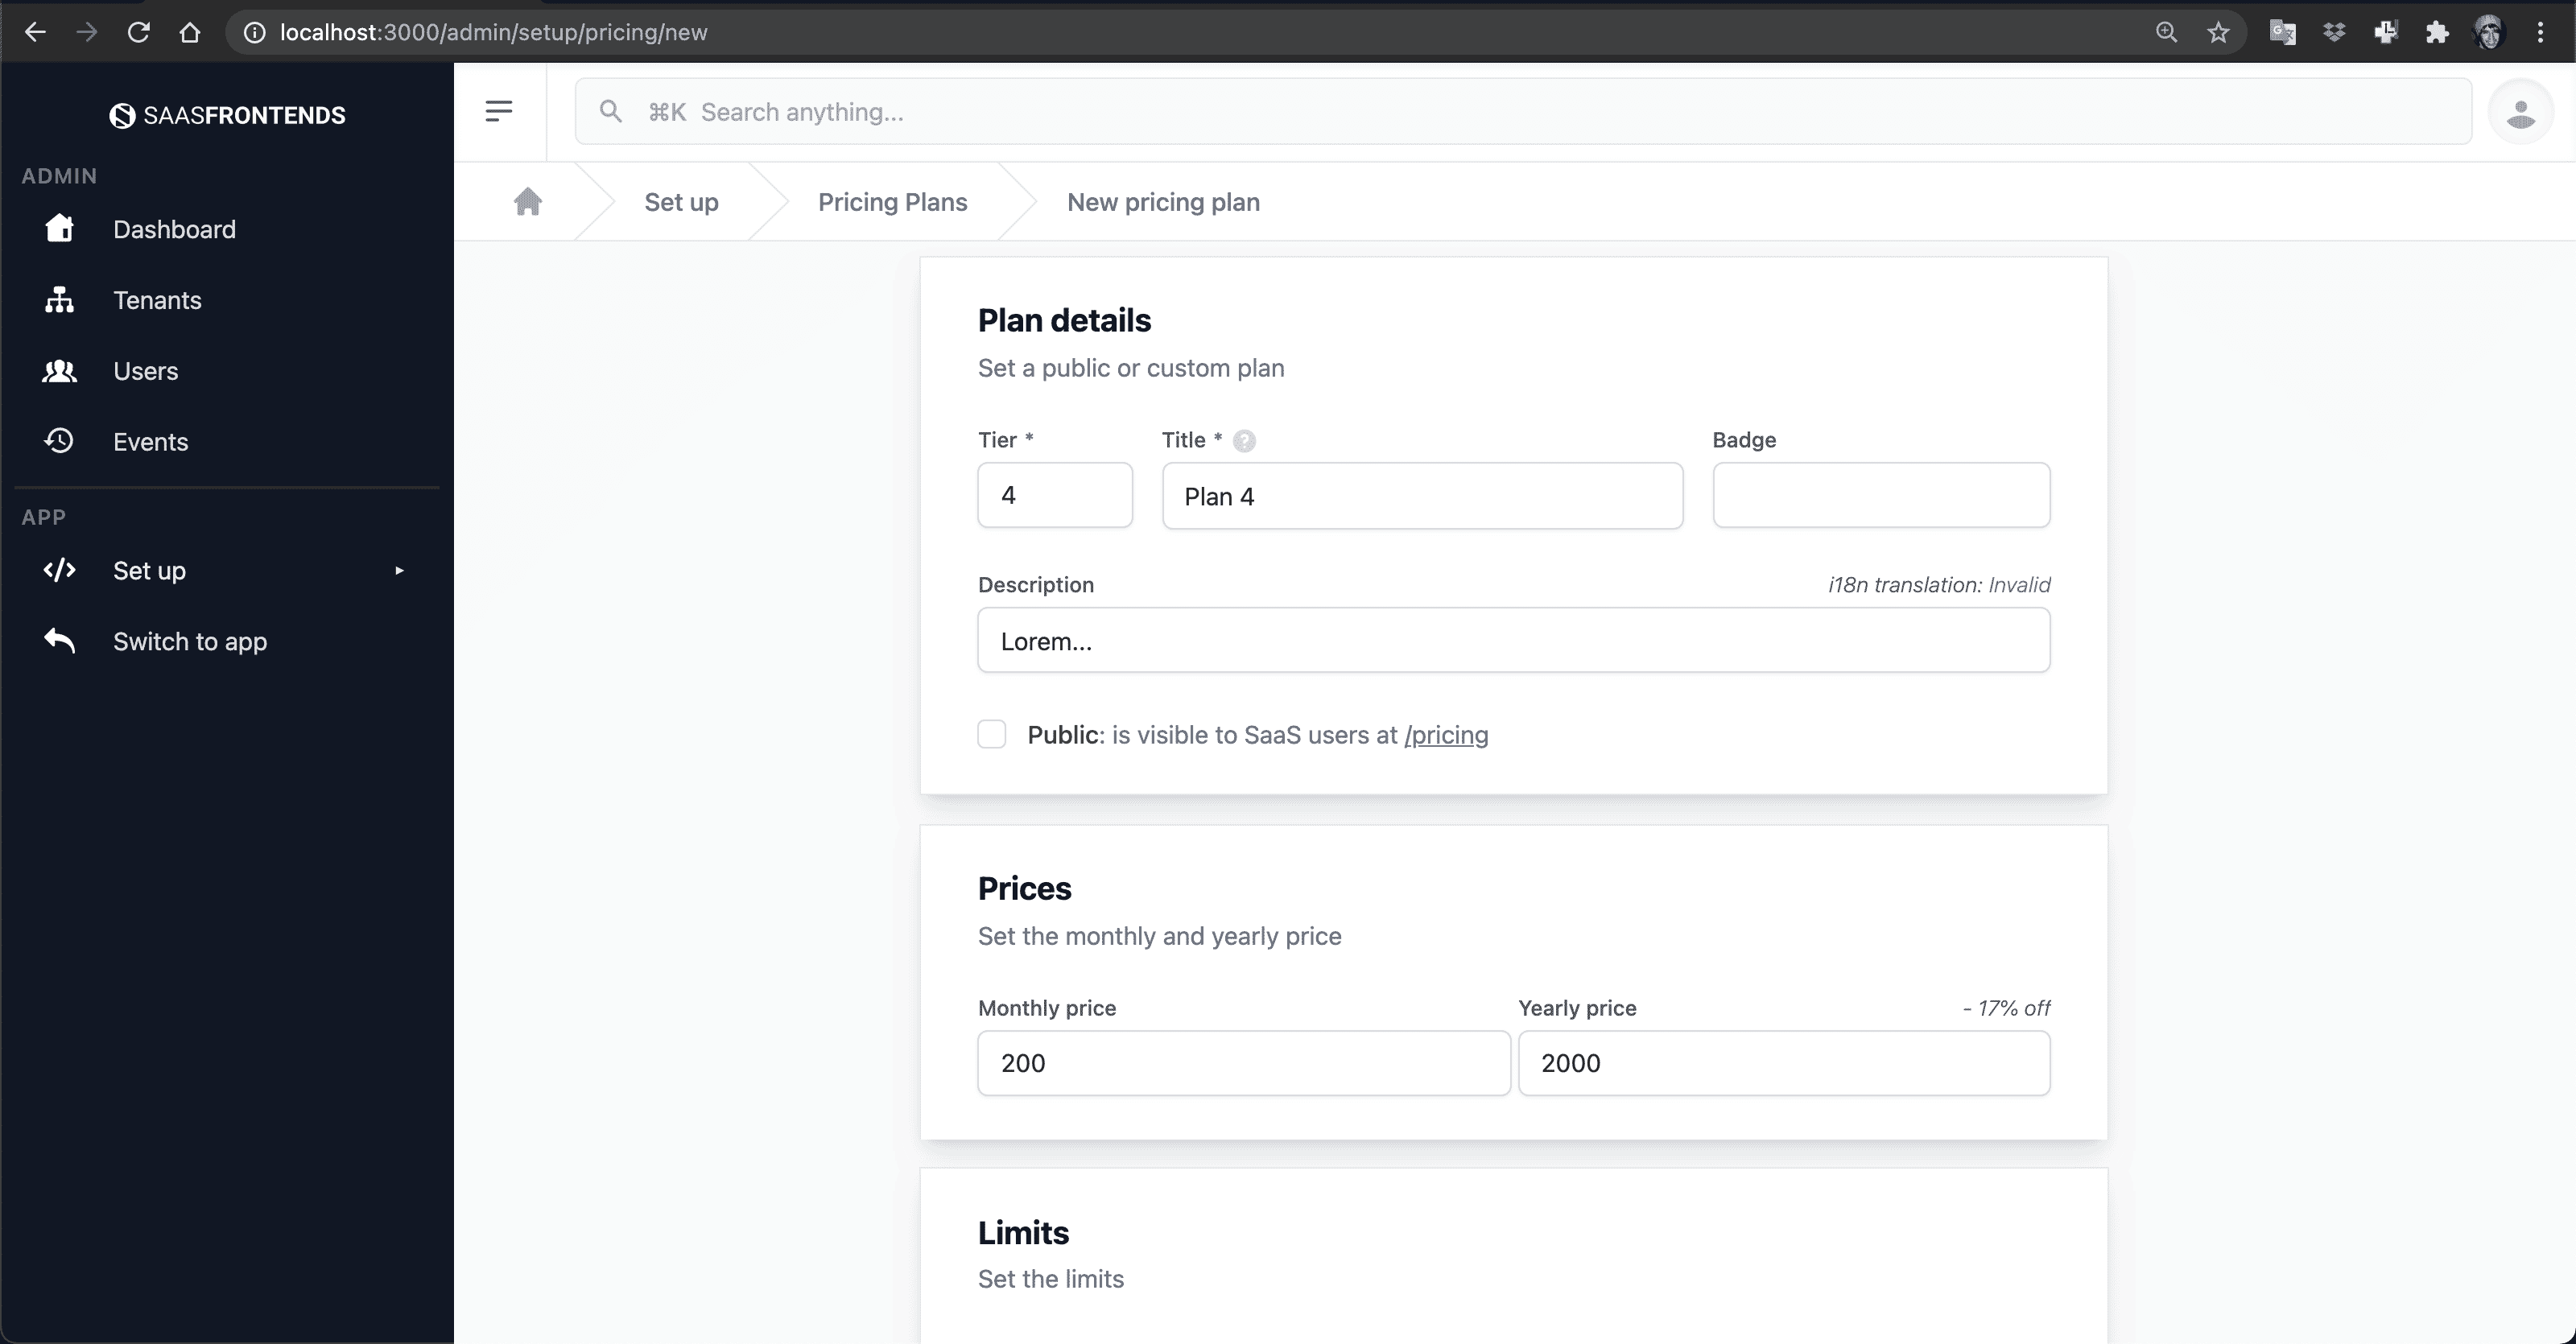
You should see the new plan on the /admin/setup/pricing page:

3. Creating Email Templates
The next steps require that you set the POSTMARK_SERVER_TOKEN and POSTMARK_FROM_EMAIL env variables.
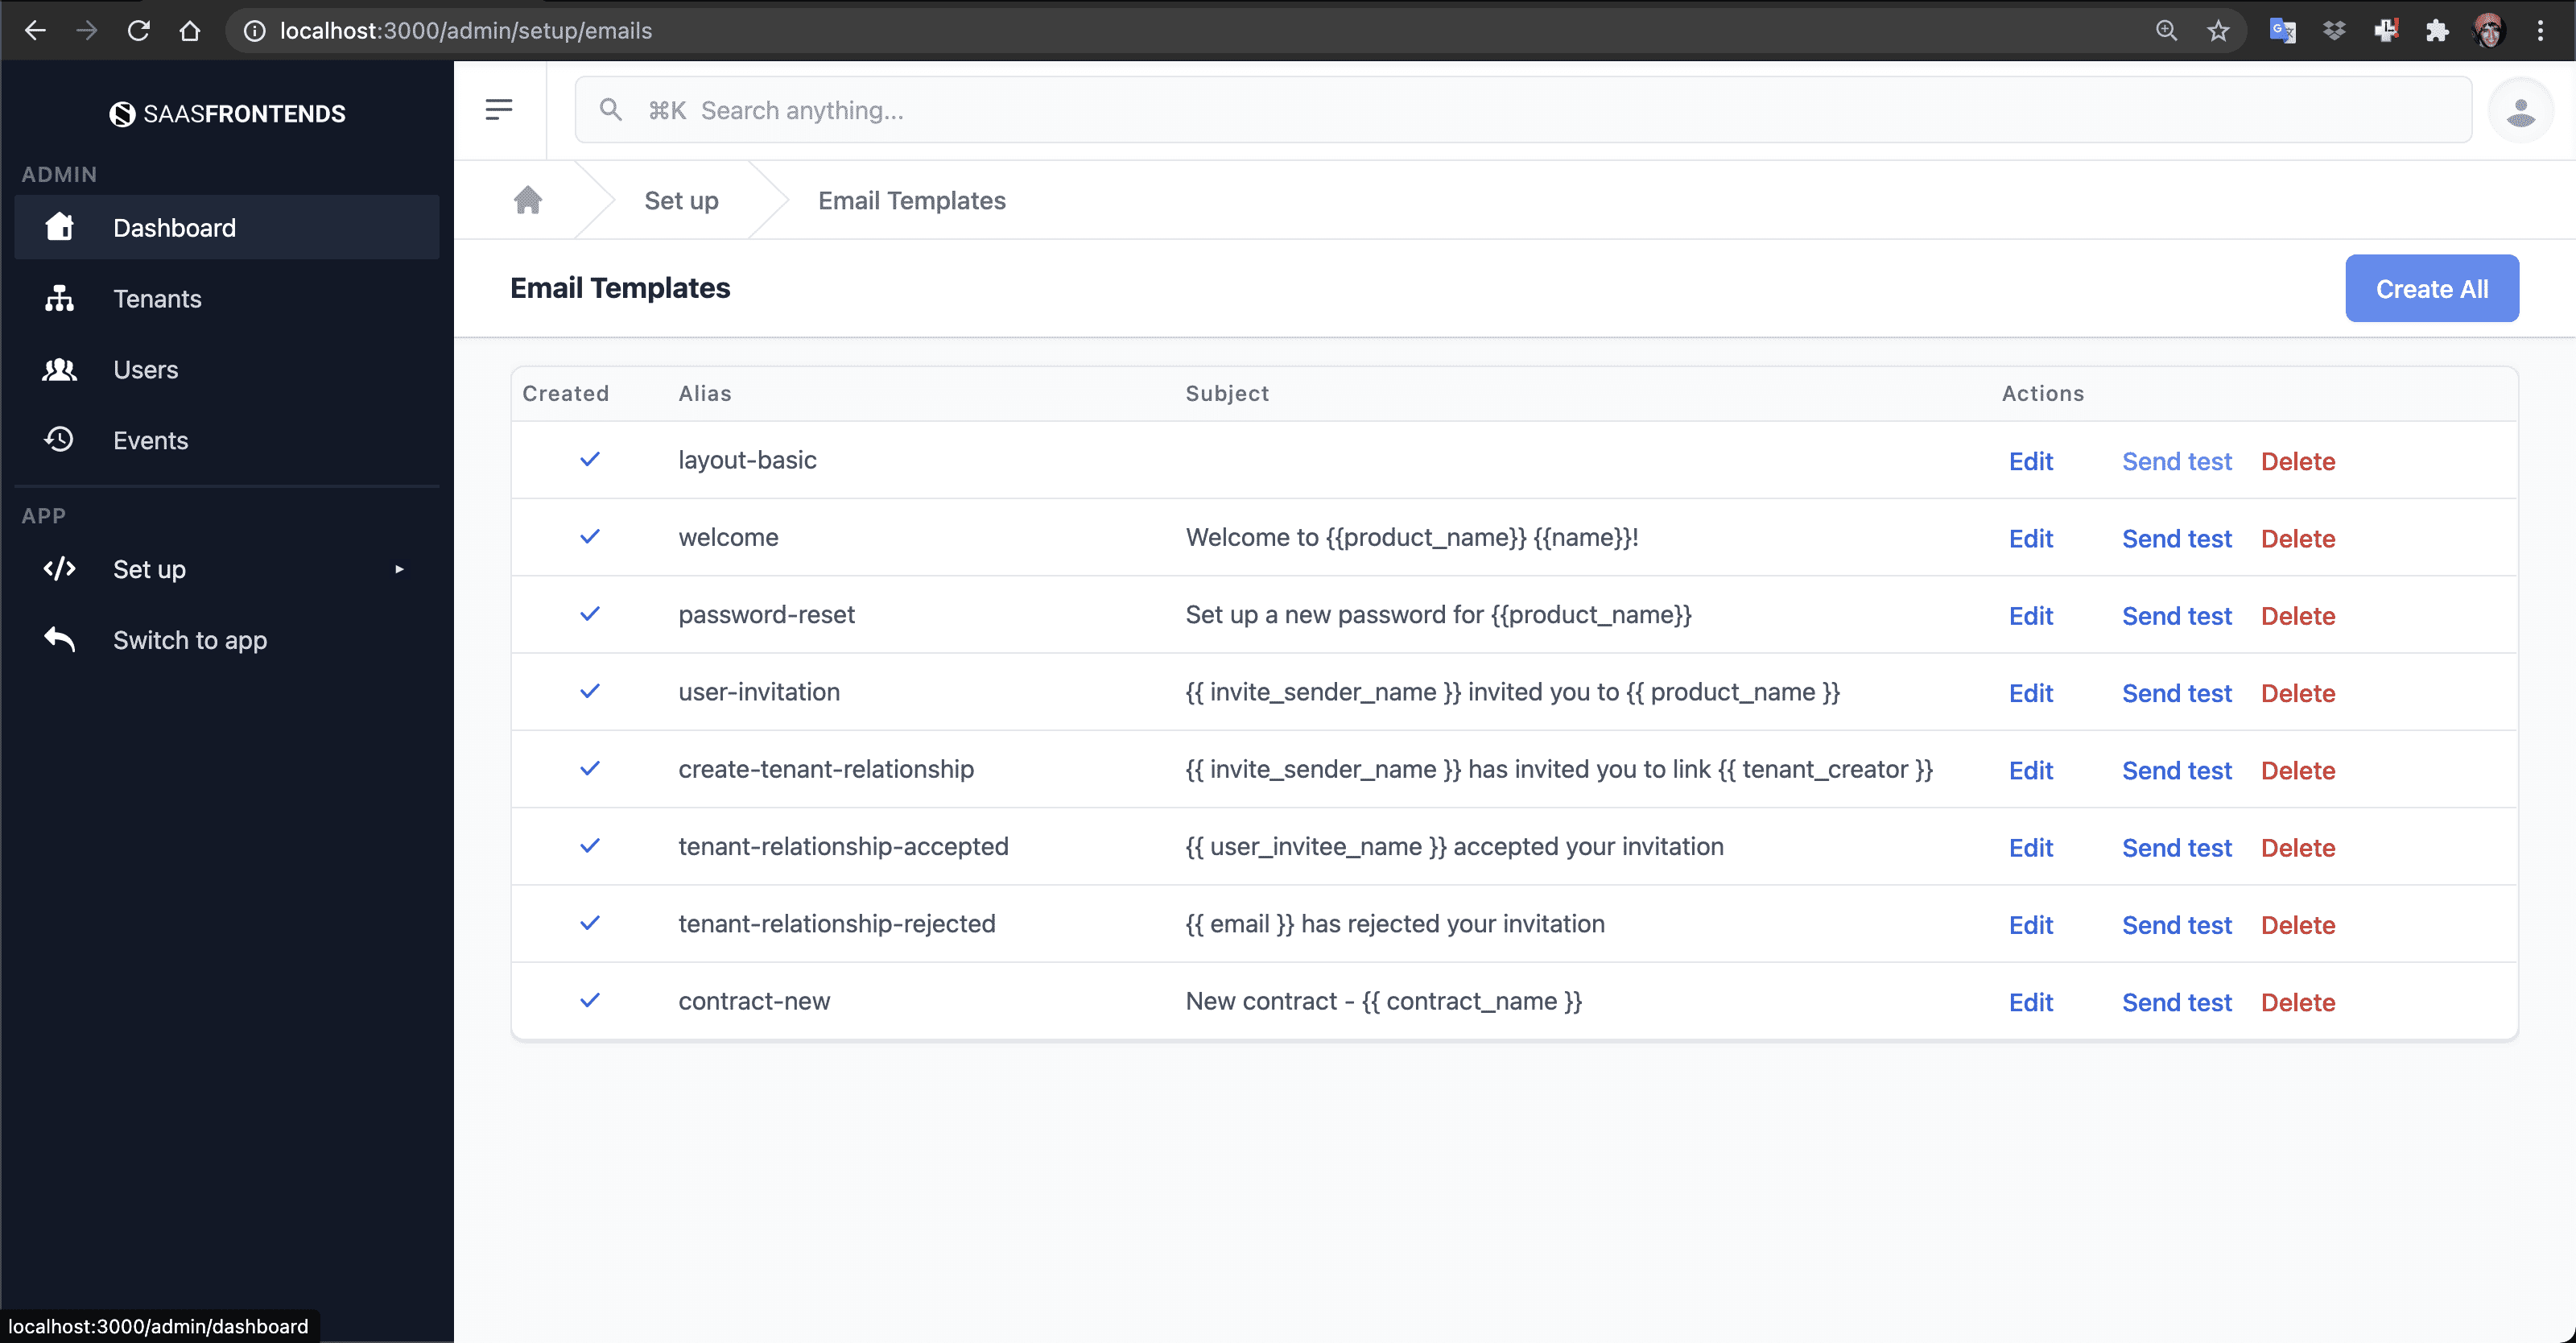
💿 3.1. To generate the Postmark email templates go to /admin/setup/emails.
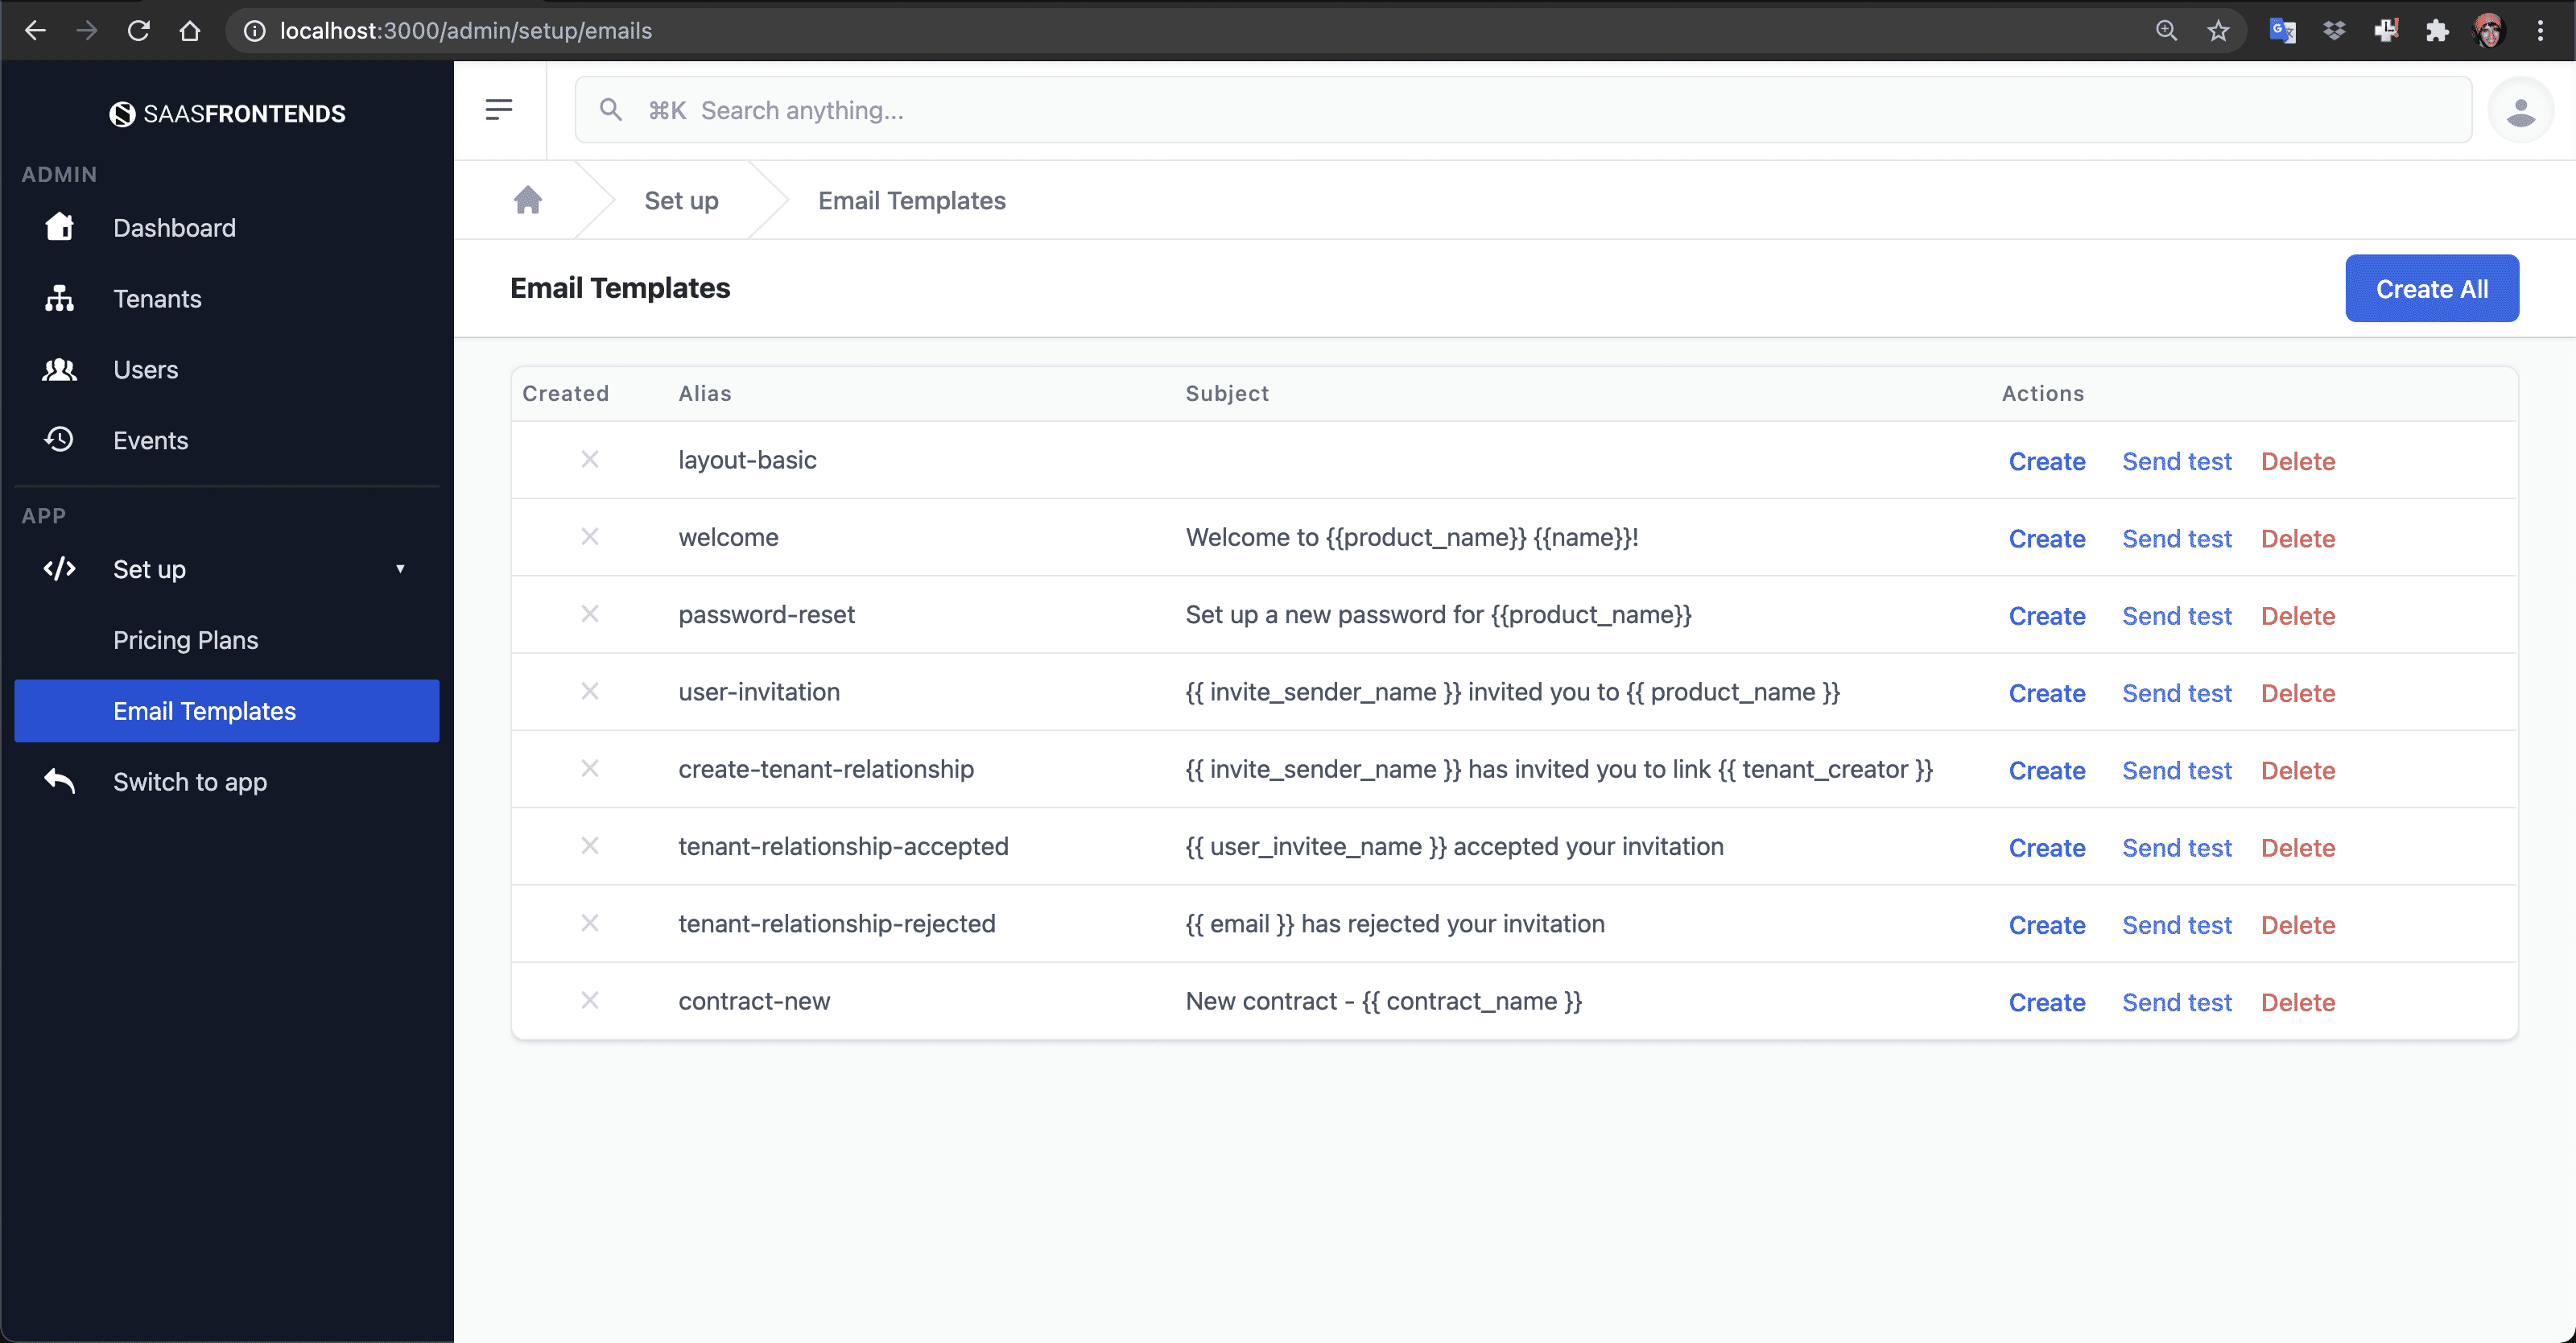
💿 3.2. Click on Create all.
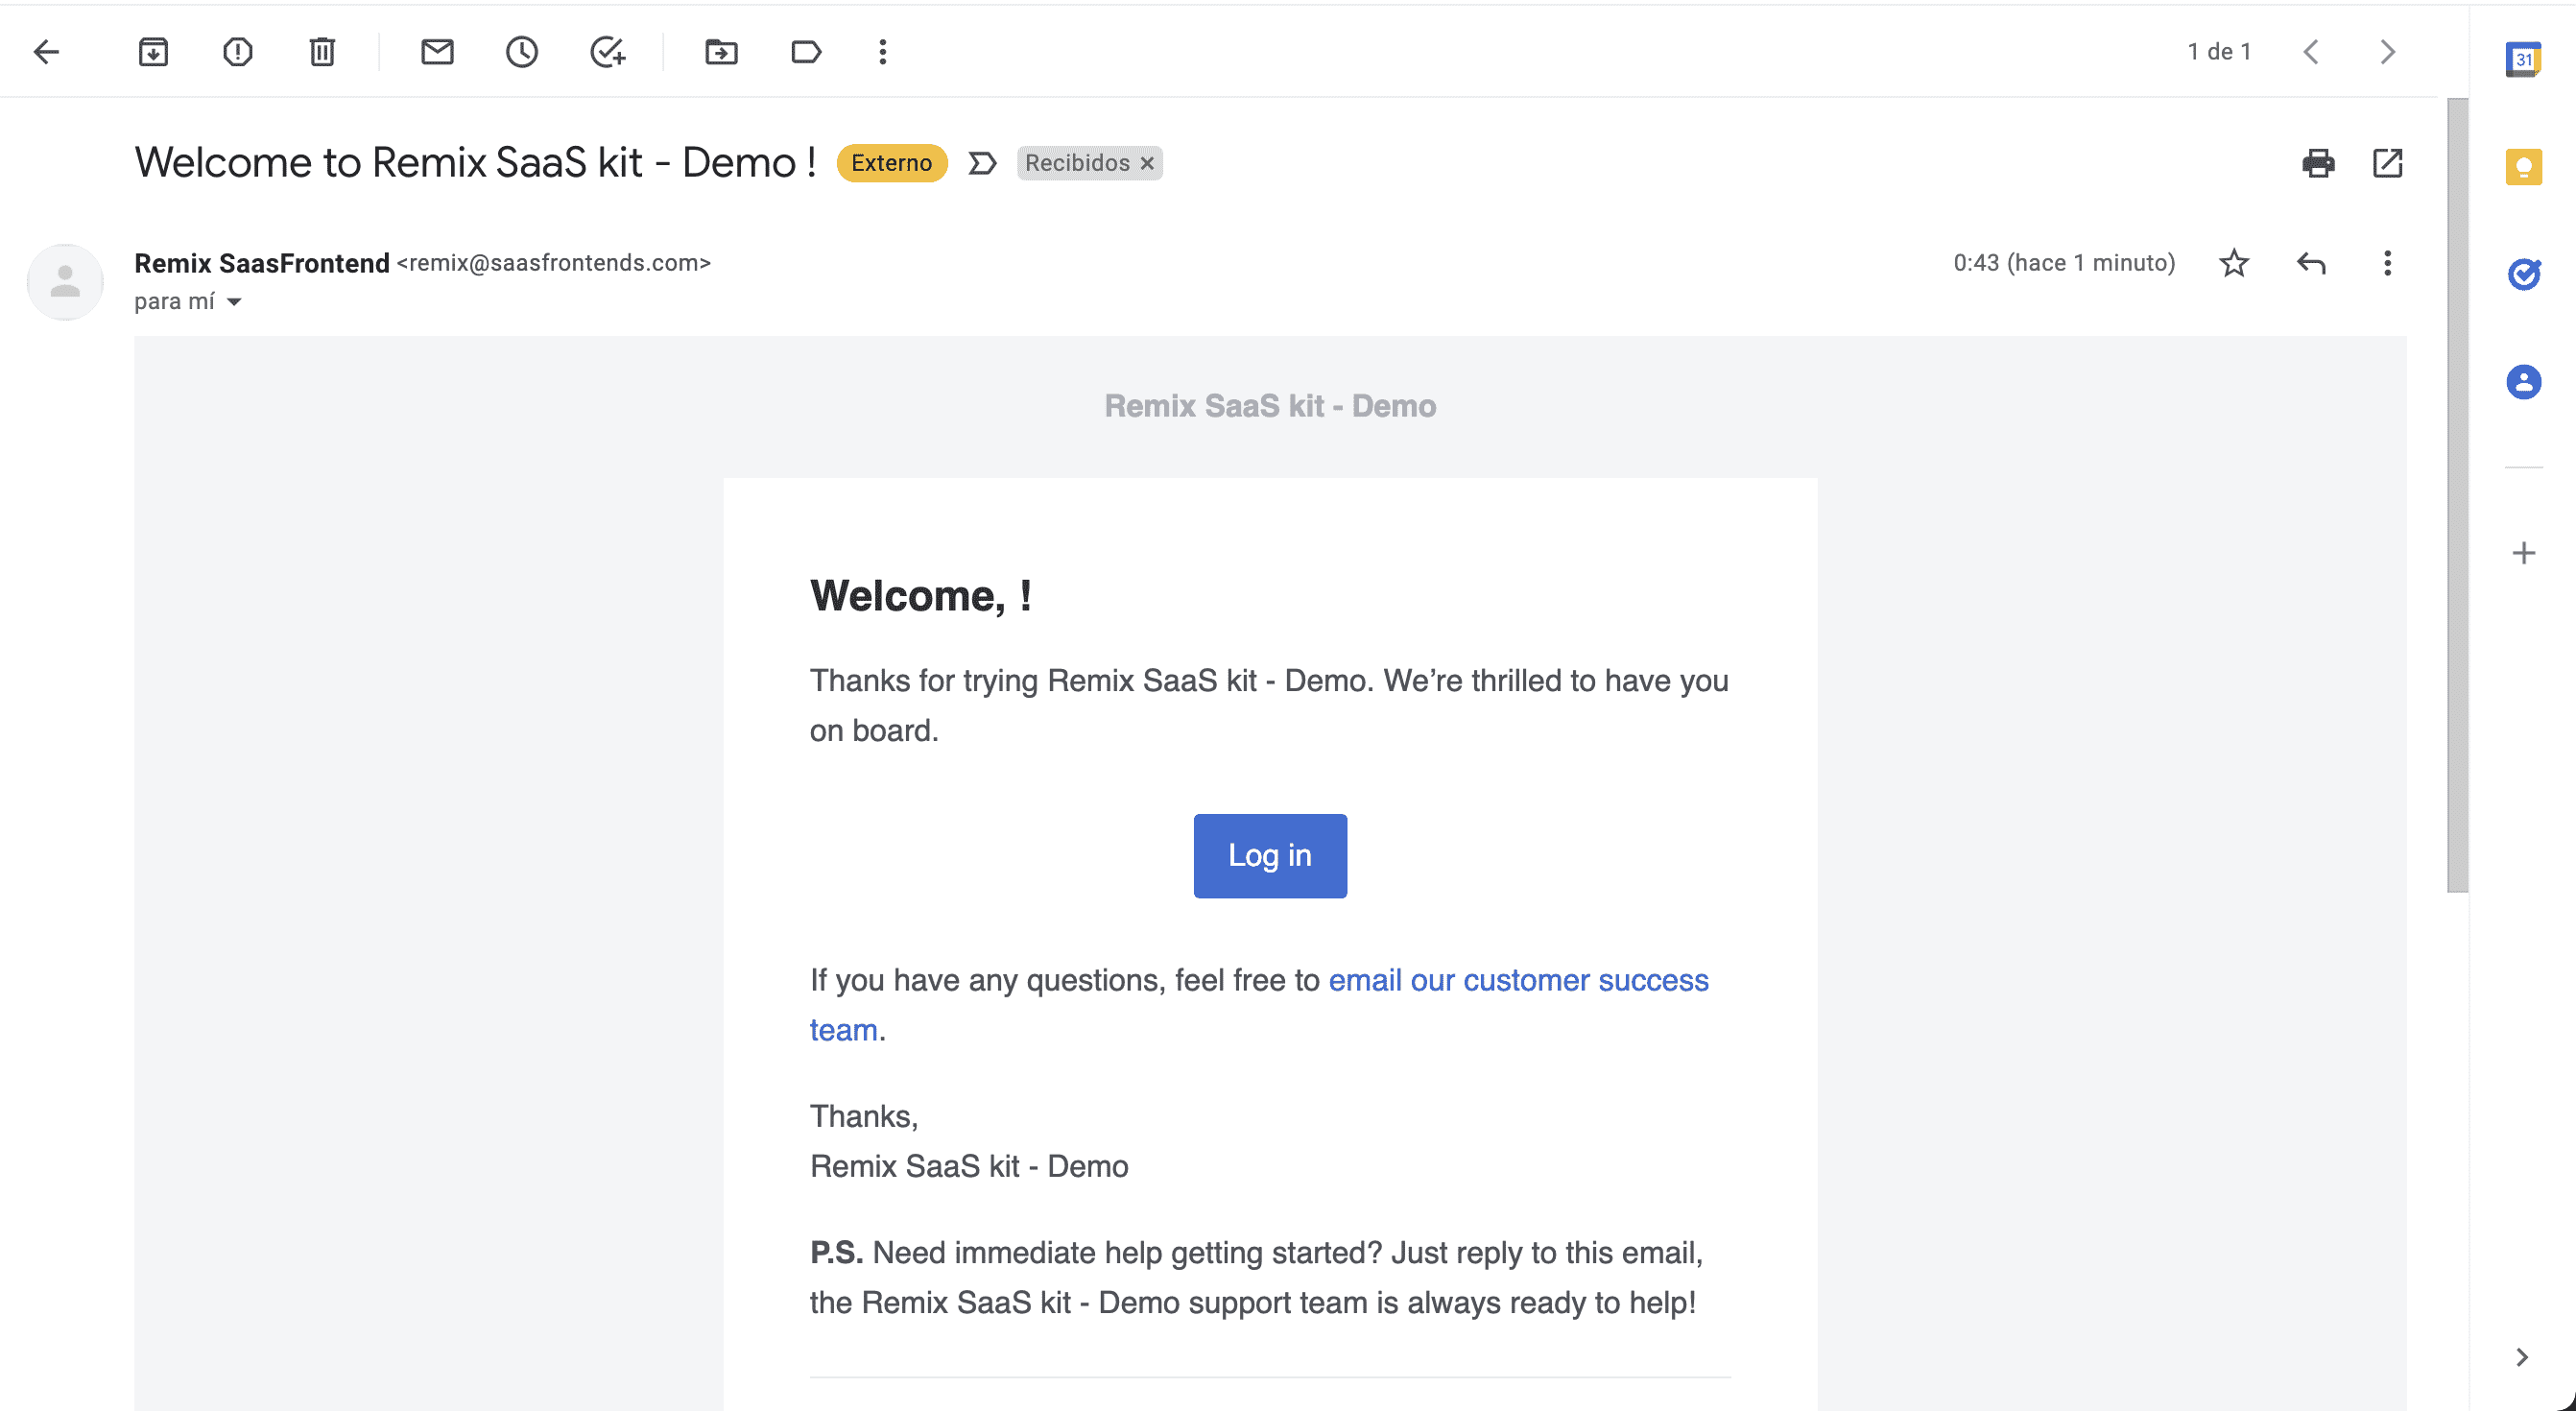
💿 3.3. Click on Send test on the Welcome email template.
💿 3.4. Sign out.
4. Register as a SaaS user
💿 4.1. Register with your email at /register. You will be redirected to the /app/dashboard.
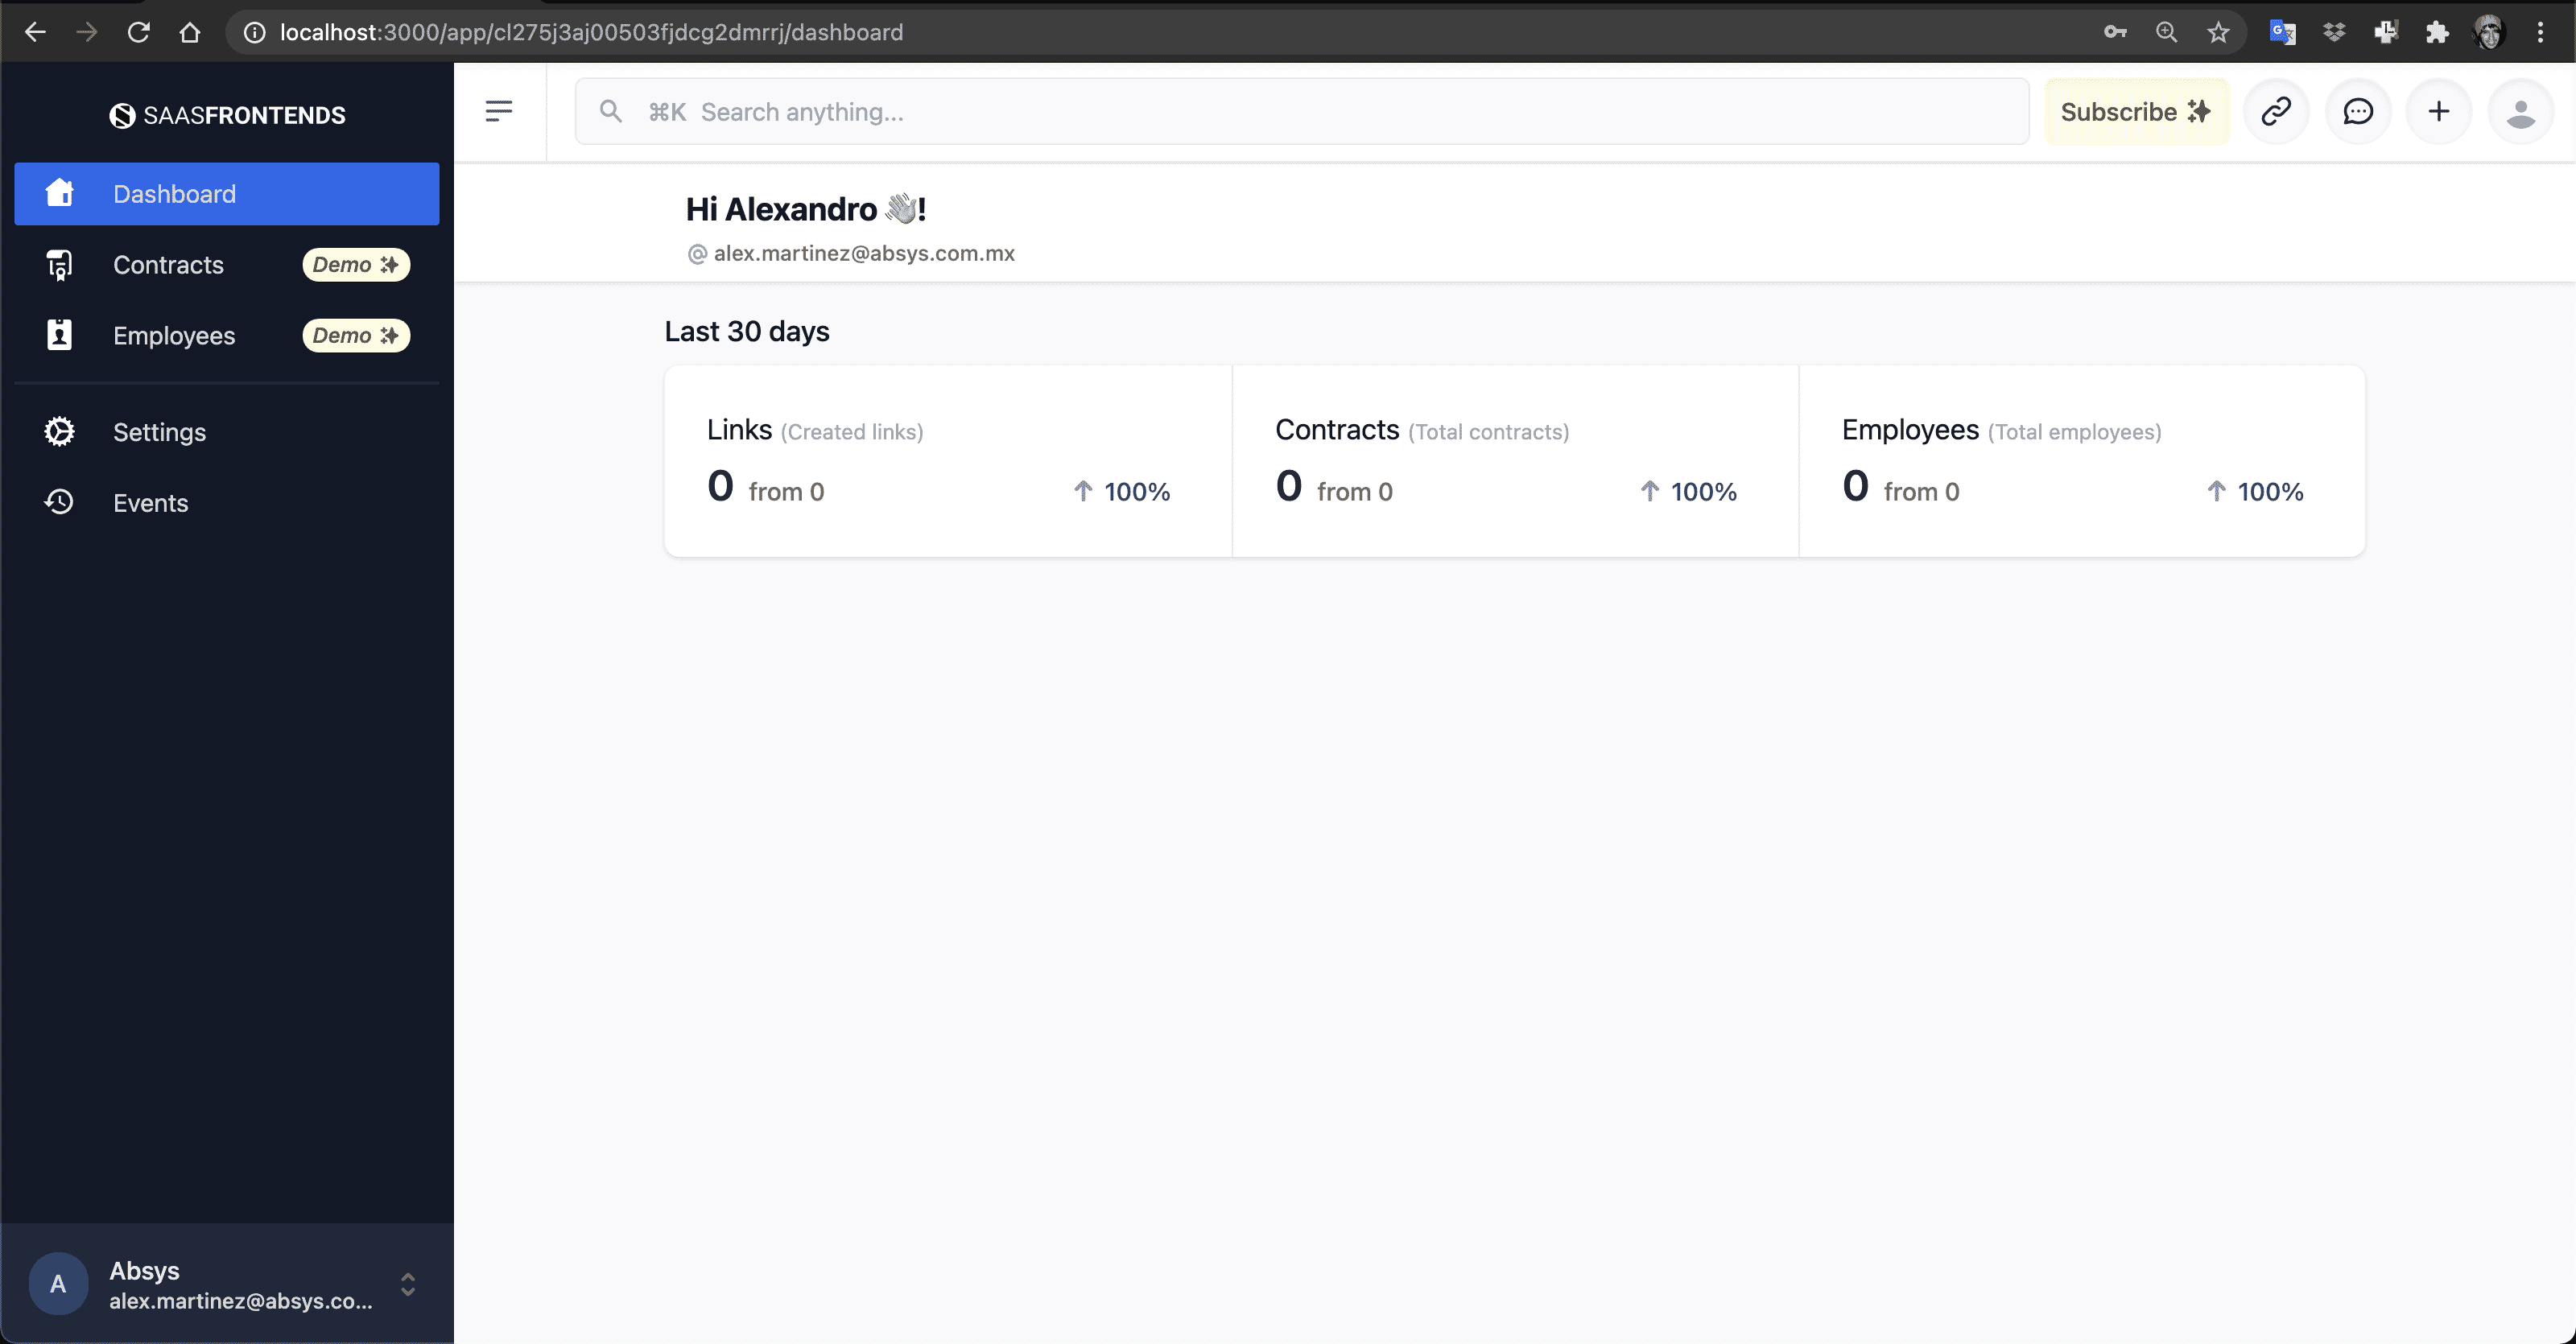
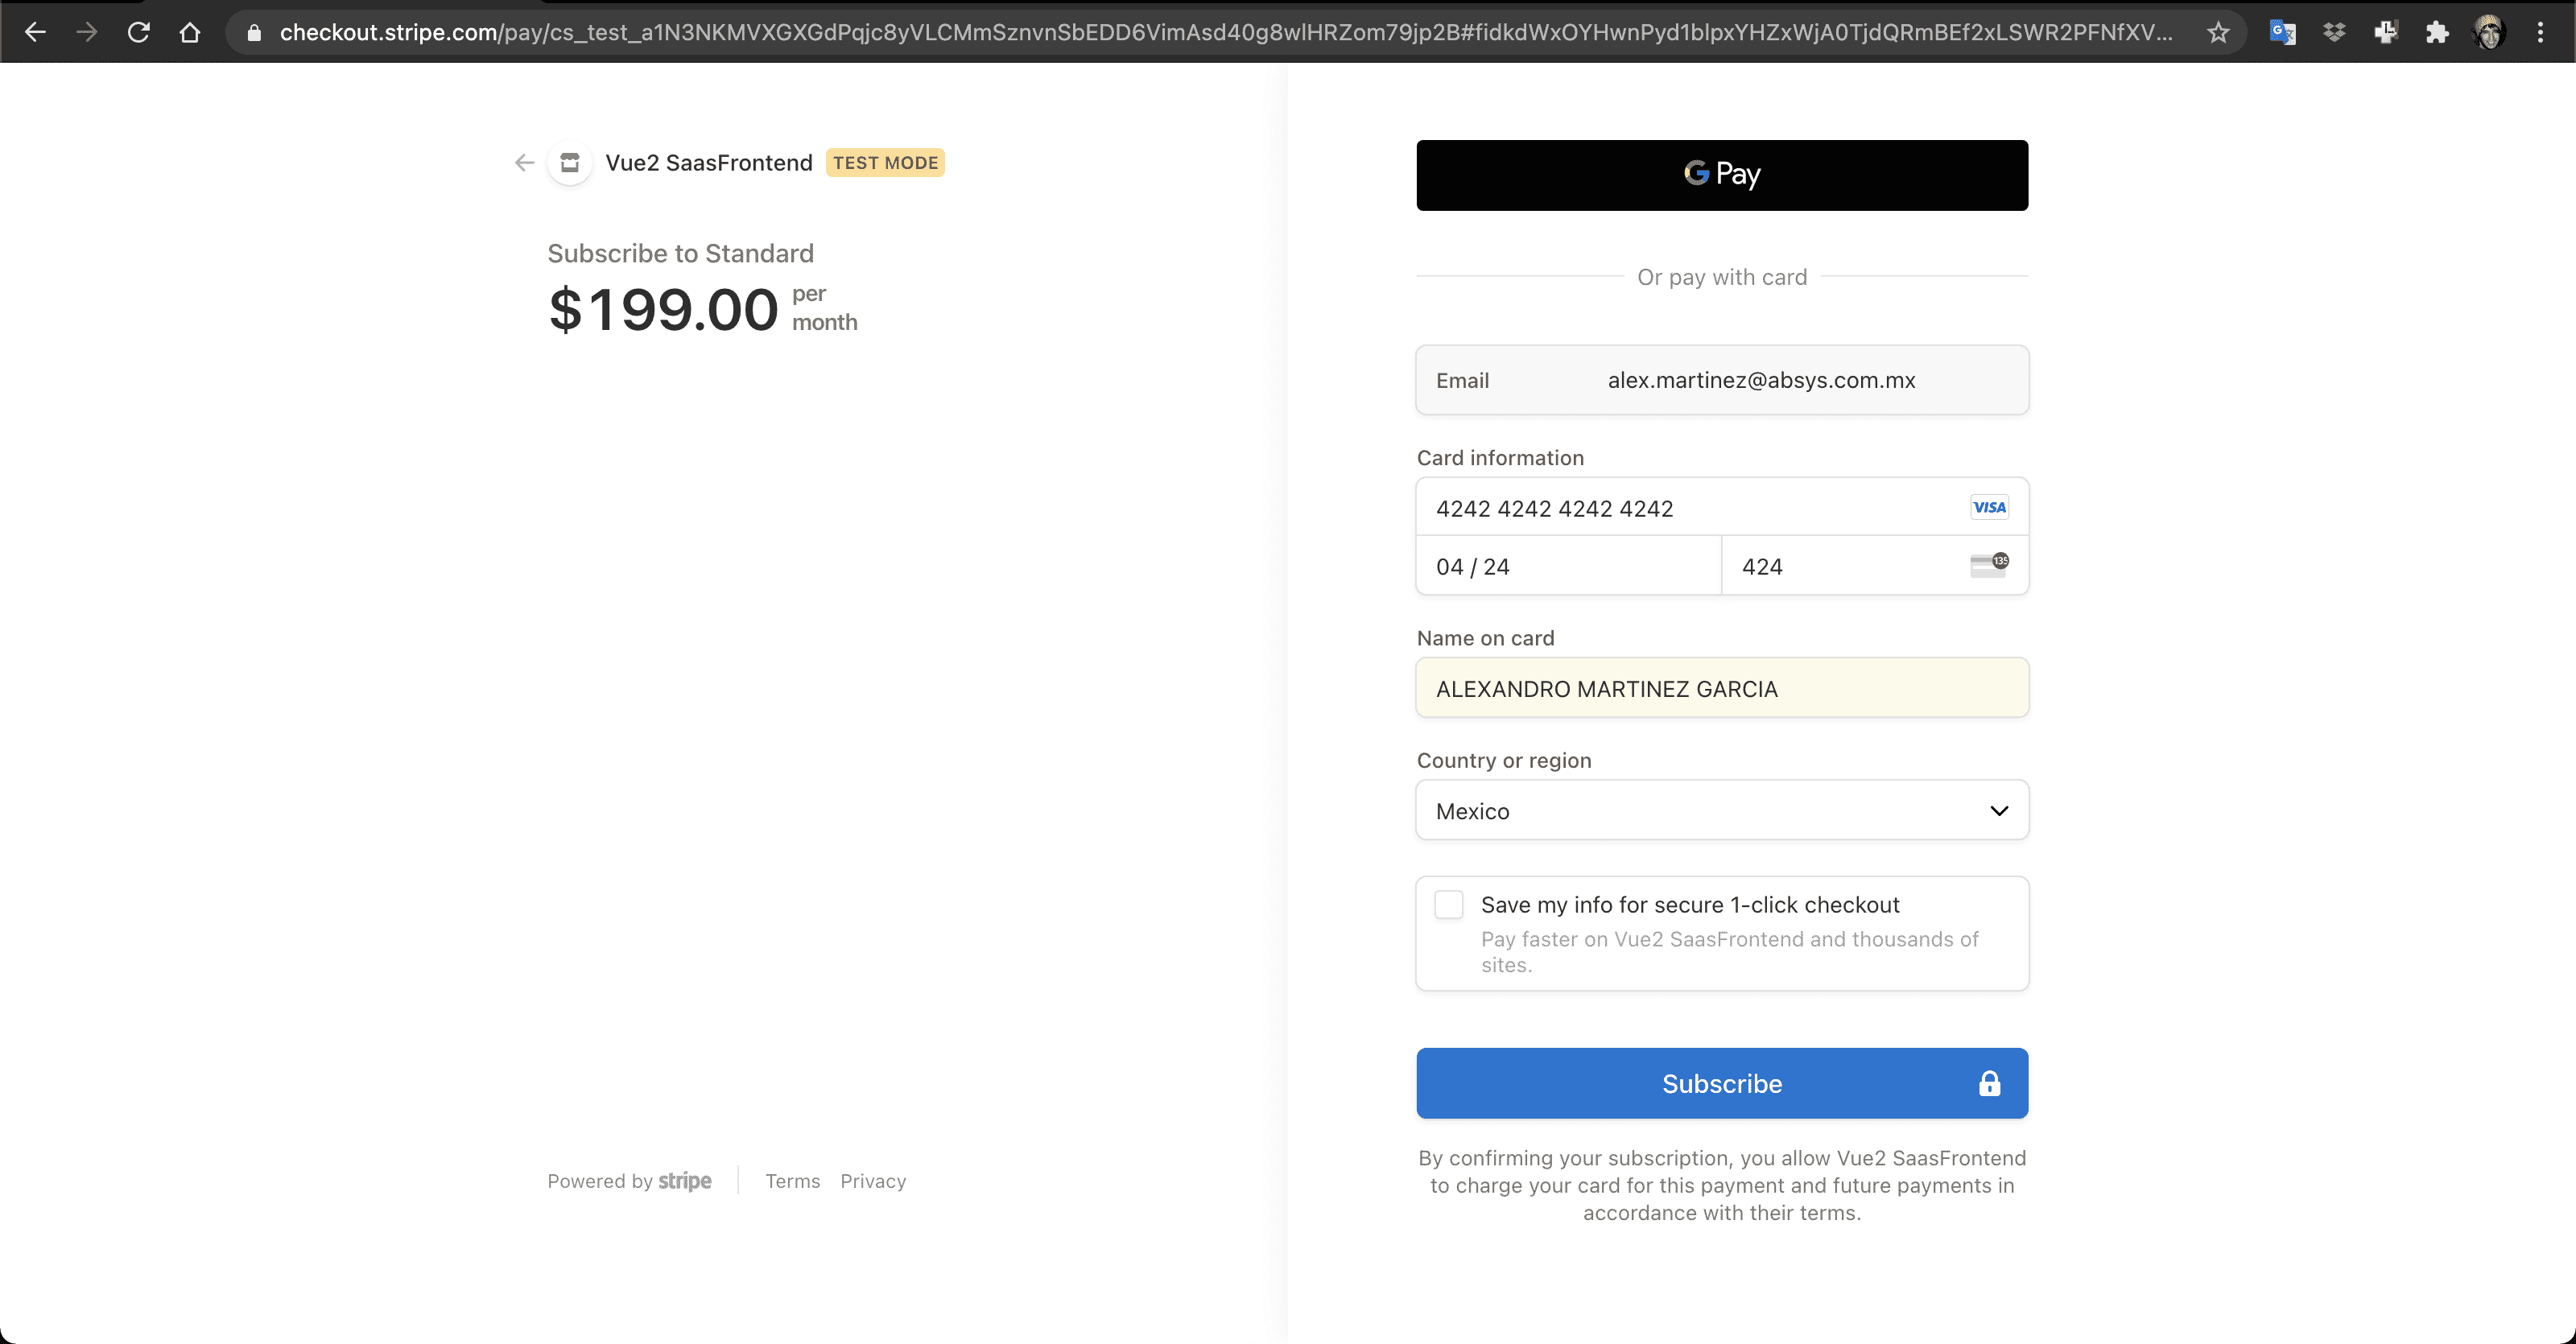
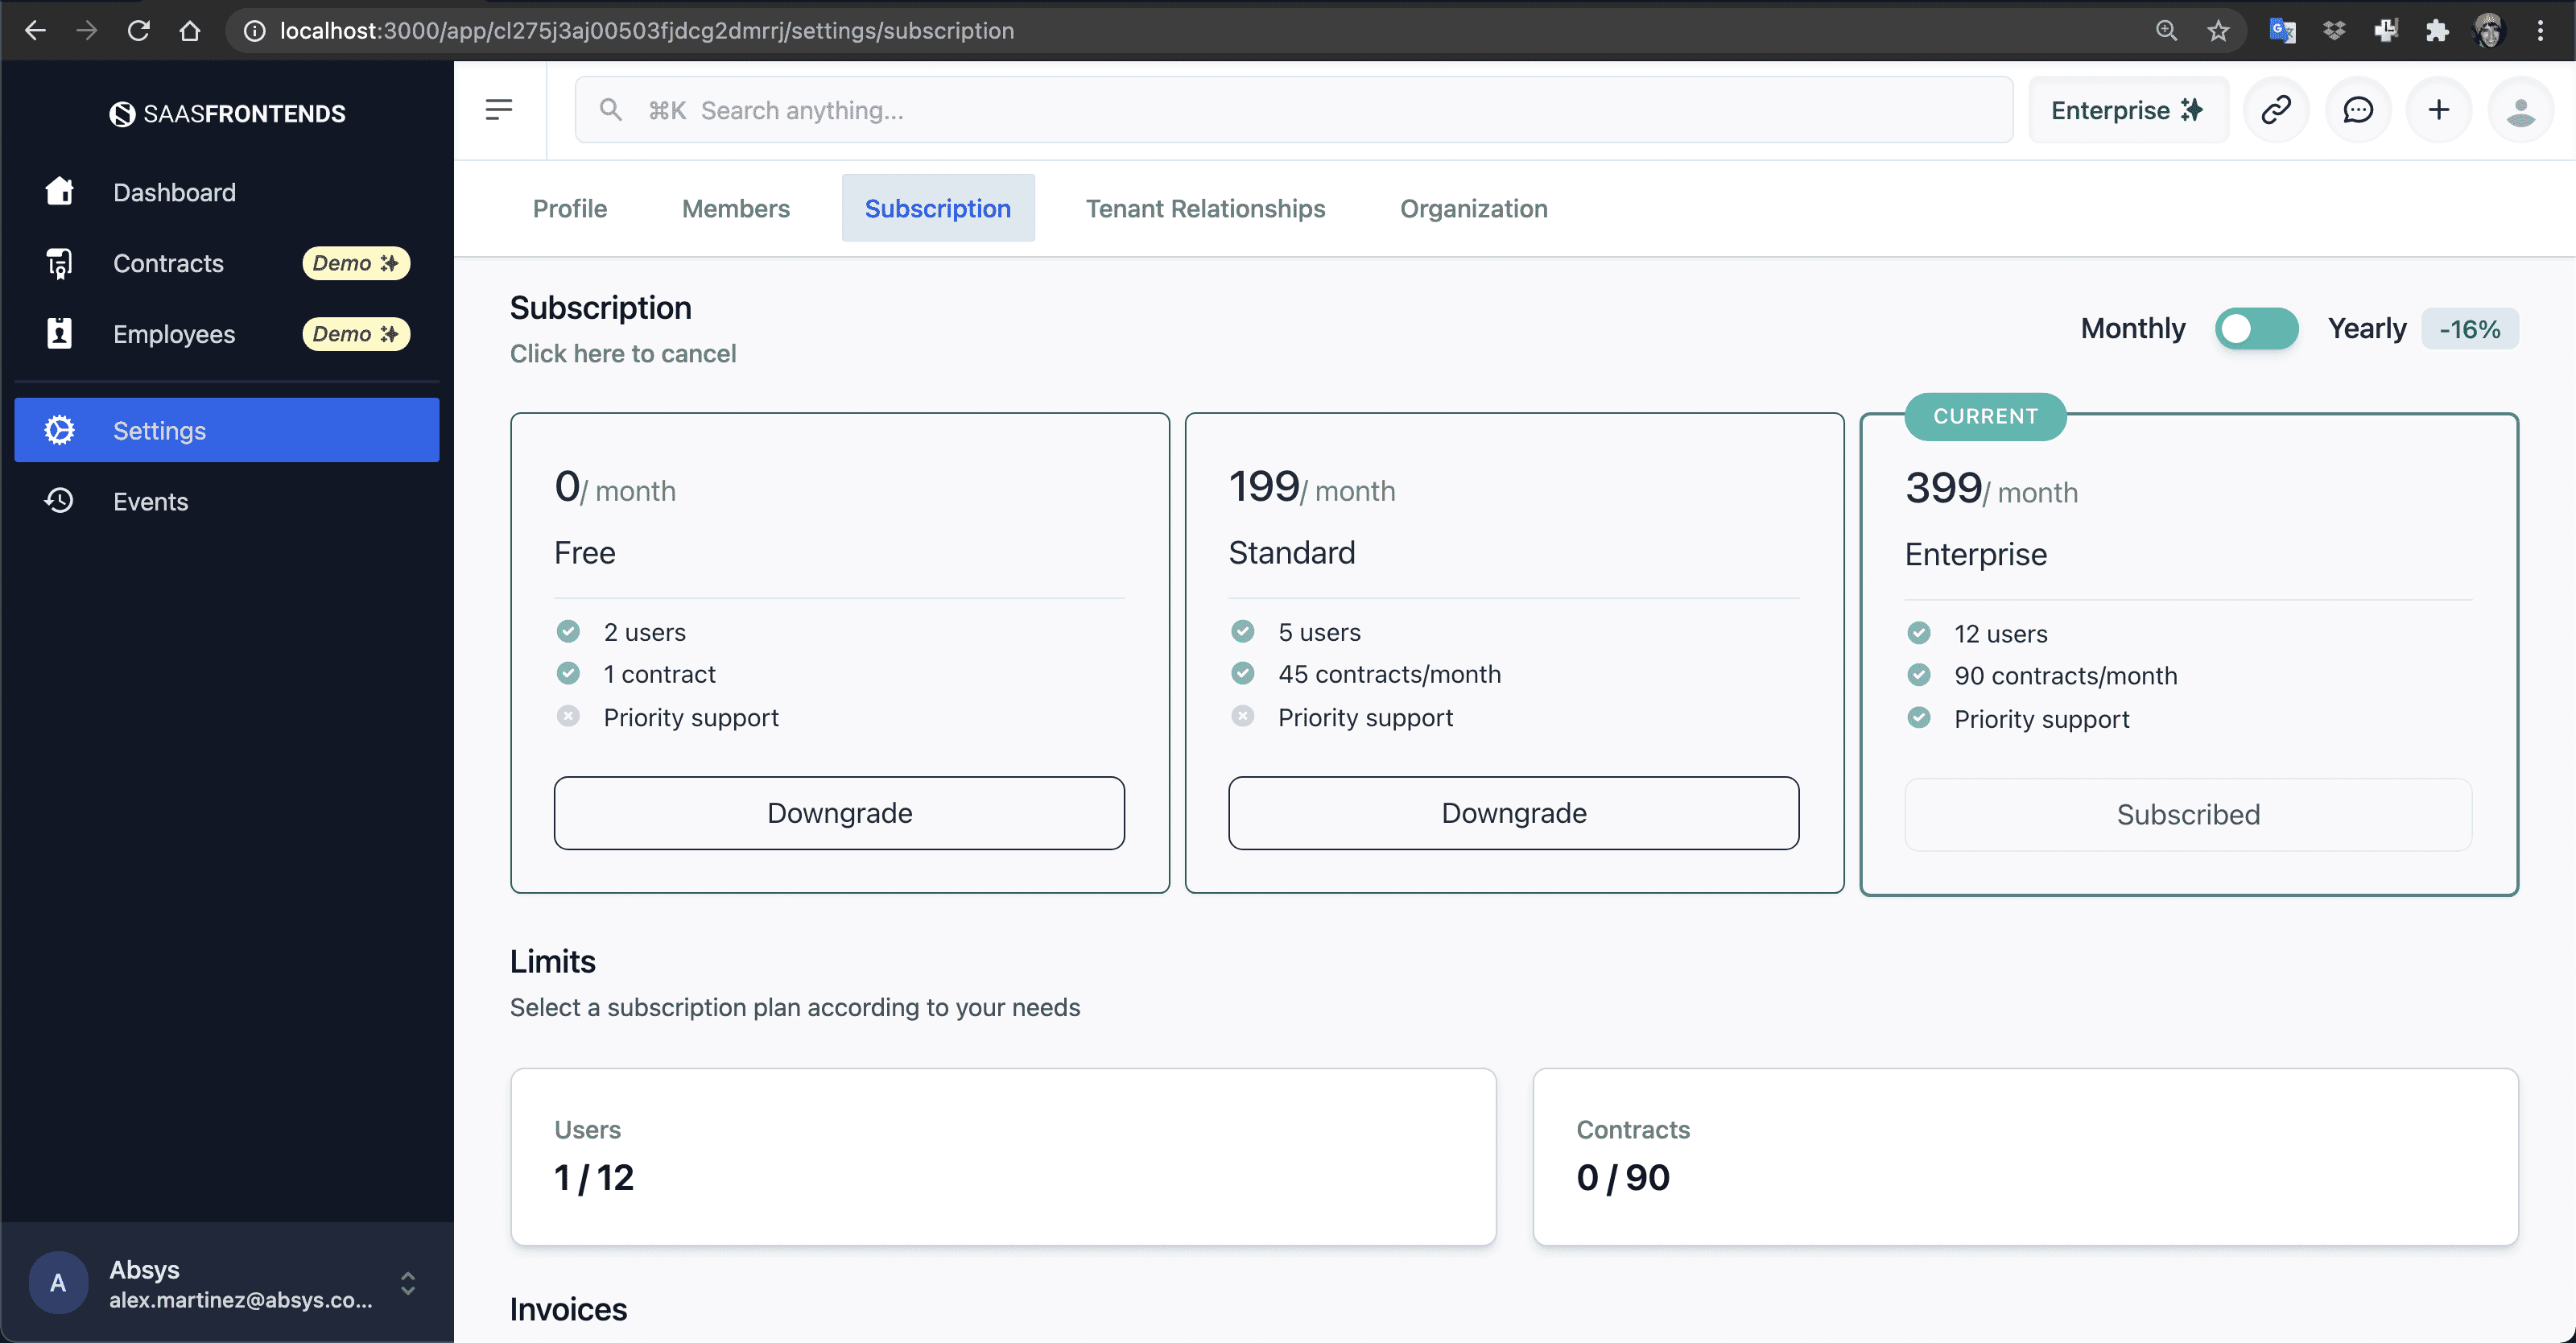
💿 4.2. Click on Subscribe and subscribe to any plan (use any Stripe test card).
Stripe Checkout:
Tenant Subscription Settings:
💿 4.3. Cancel the subscription and subscribe to another pricing plan.
