1) Core Concepts
Before you follow the tutorial, I want you to know why I built it the way it is.
1.1) Tenant
I wanted to make an app where 1 email could have multiple accounts, like Notion.
A Tenant has its own:
Stripe Customer ID - Created at /register
Stripe Subscription ID - Created at /app/settings/subscription
Tenant Members - Created at /app/settings/members
Workspaces - Created at /app/settings/workspaces
1.2) Workspace
This depends on your SaaS implementation. For example, I have a SaaS where the Workspace is a Legal Company, and another one where each Workspace represents the Current Project. It’s up to you.
A Workspace has its own:
Workspace Members
Links to other Workspaces
Employees
1.3) Link
You can delete this in your implementation, but it’s there if you need it.
I wanted to make a SaaS where my users could like accounts with other users. For example, Workspace X from Tenant A, wants to share information with Workspace Z from Tenant B. On this implementation, there’s a direction, where one Workspace is a Provider and the other one a Client.
A Link has its own:
- Contracts
1.4) Contracts
You can delete this in your implementation, but it’s there if you need it.
On every SaaS kit, I implemented a Contracts app, on which two linked workspaces can share 1 contract, and it belongs to both of them. Also, you can see how PDF upload/preview work.
A Contract references:
Linked Workspace Members
Current Workspace Employees
1.5) Employee
Simple CRUD demo.
1.6) TenantId, WorkspaceId, and LinkId fields
Since this boilerplate is designed to support multiple tenants, each with its own workspaces, you have to implement these fields (on your prisma calls) on every Entity you create, hence the Contracts and Employees demo. I plan to implement an automatic way of doing this, subscribe or follow me to stay tuned!
2) Quick Start Tutorial
Follow these steps to see what Remix SaaS kit can do.
2.1) Requirements:
Postmark account (use REMIXSAASPOSTMARK code for -20%)
Supabase account (you can use your own Prisma-supported-database provider)
Formspree account (optional)
2.2) Git
Open the downloaded project folder (I’m using VSCode), open a Terminal and run:
git init
git add .
git commit -am "initial"
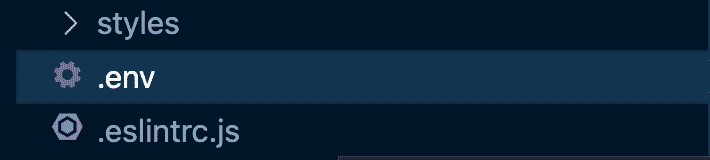
2.3) Environment file:
Rename the .env.example file to just .env.
Update the REMIX_SESSION_SECRET value to something secure (like abc123).
Set the REMIX_ADMIN_EMAIL with your email and something random for REMIX_ADMIN_PASSWORD.

Get your Stripe Secret Key and set it to REMIX_STRIPE_SK.

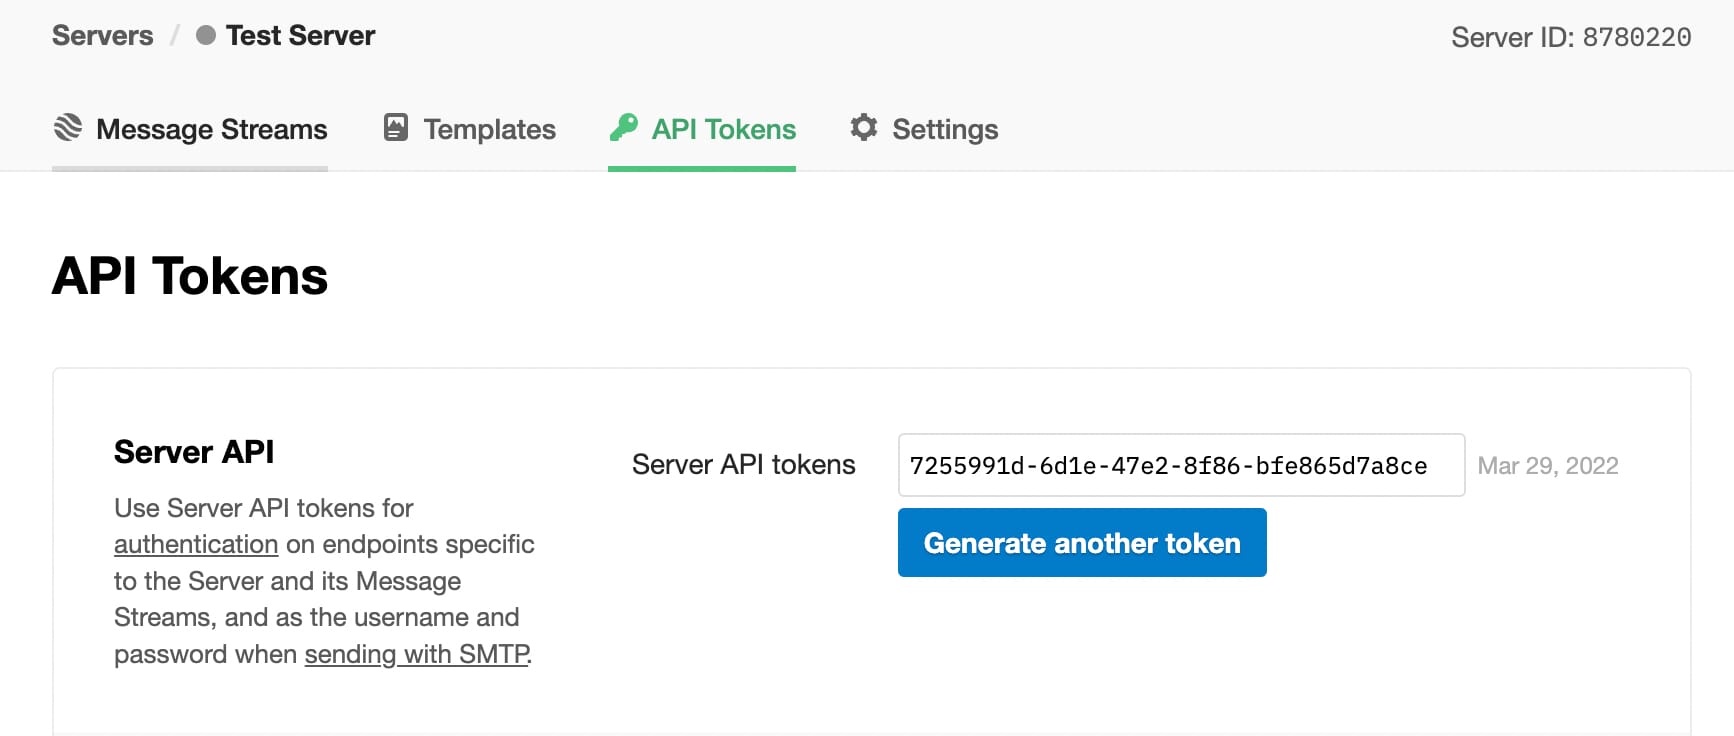
Open your Postmark Servers Dashboard, select or create your server, click on API Tokens and set it to REMIX_POSTMARK_SERVER_TOKEN.
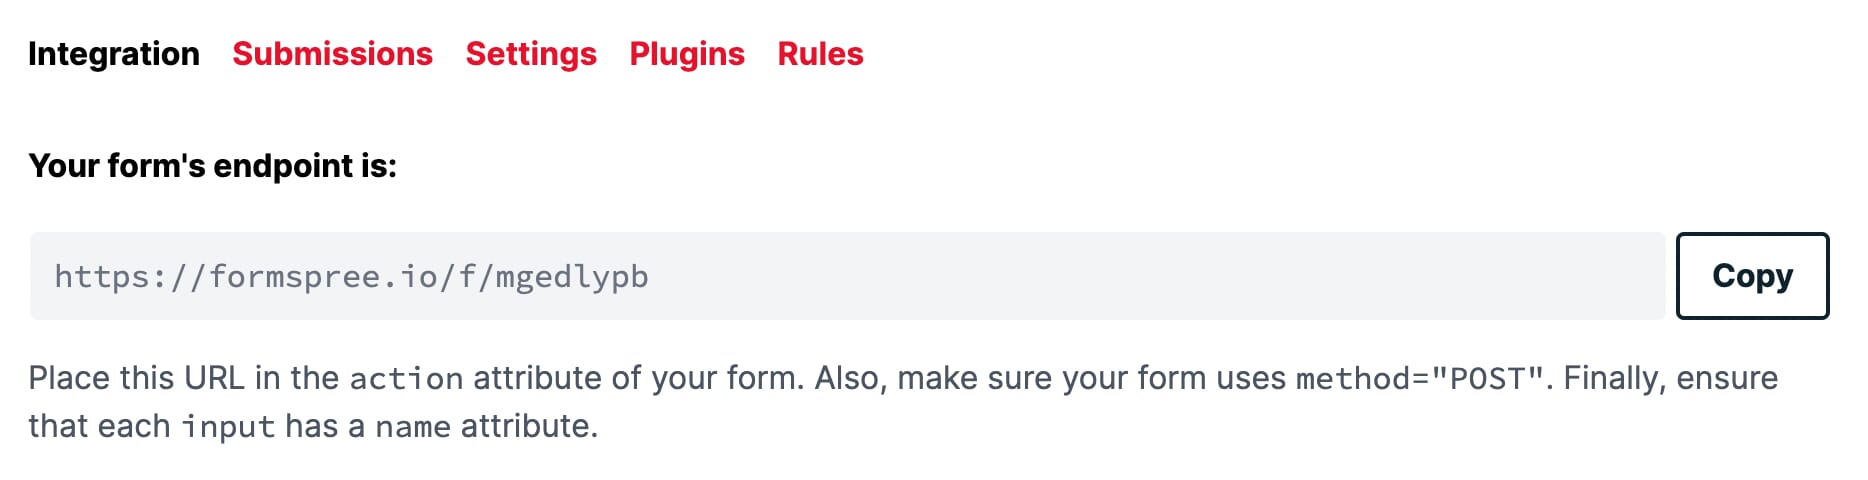
(Optional) Open your Formspree Forms Dashboard, select or create your form, click on Integration, and set the Form’s endpoint to REMIX_INTEGRATIONS_CONTACT_FORMSPREE.
Up to this point, you should have only 1 commit:

2.4) Database:
I highly recommend building your app first with SQLite, then moving to something like PostgreSQL/MySQL.
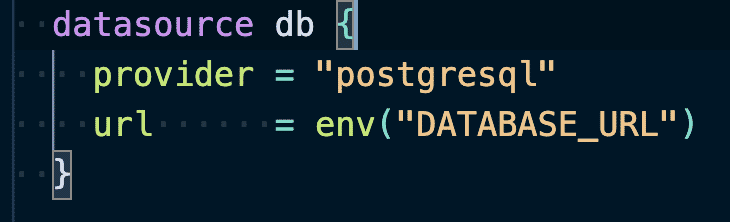
If you’re not using SQLite, identify your database connection string format and set it to the DATABASE_URL environment variable.

IMPORTANT: If you’re using Supabase and you will host your app on a Serverles environment like Vercel or AWS Lambda, use the Connection Pooling String as specified here. As you can see, use the normal PostgreSQL connection string when creating, migrating, and seeding the database with Prisma, but use the Connection Pooling String when deploying to a Serverless environment.
Open the schema.prisma file, and set the corresponding database provider (sqlite, postgresql, mysql, sqlserver, mongodb, or cockroachdb).
Run the first migration and seed the database using this command:
npx prisma migrate dev --name init
You should get the following output:
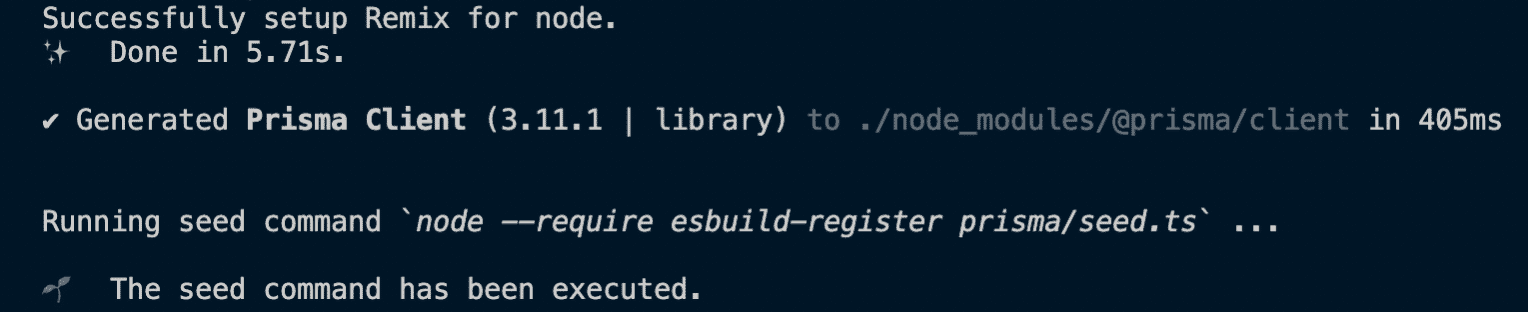
If for any reason, the migration was created successfully but did not seed the database, use the following command:
npx prisma db seed
If you mess up the database, you can always reset it with Prisma, or drop the tables manually:
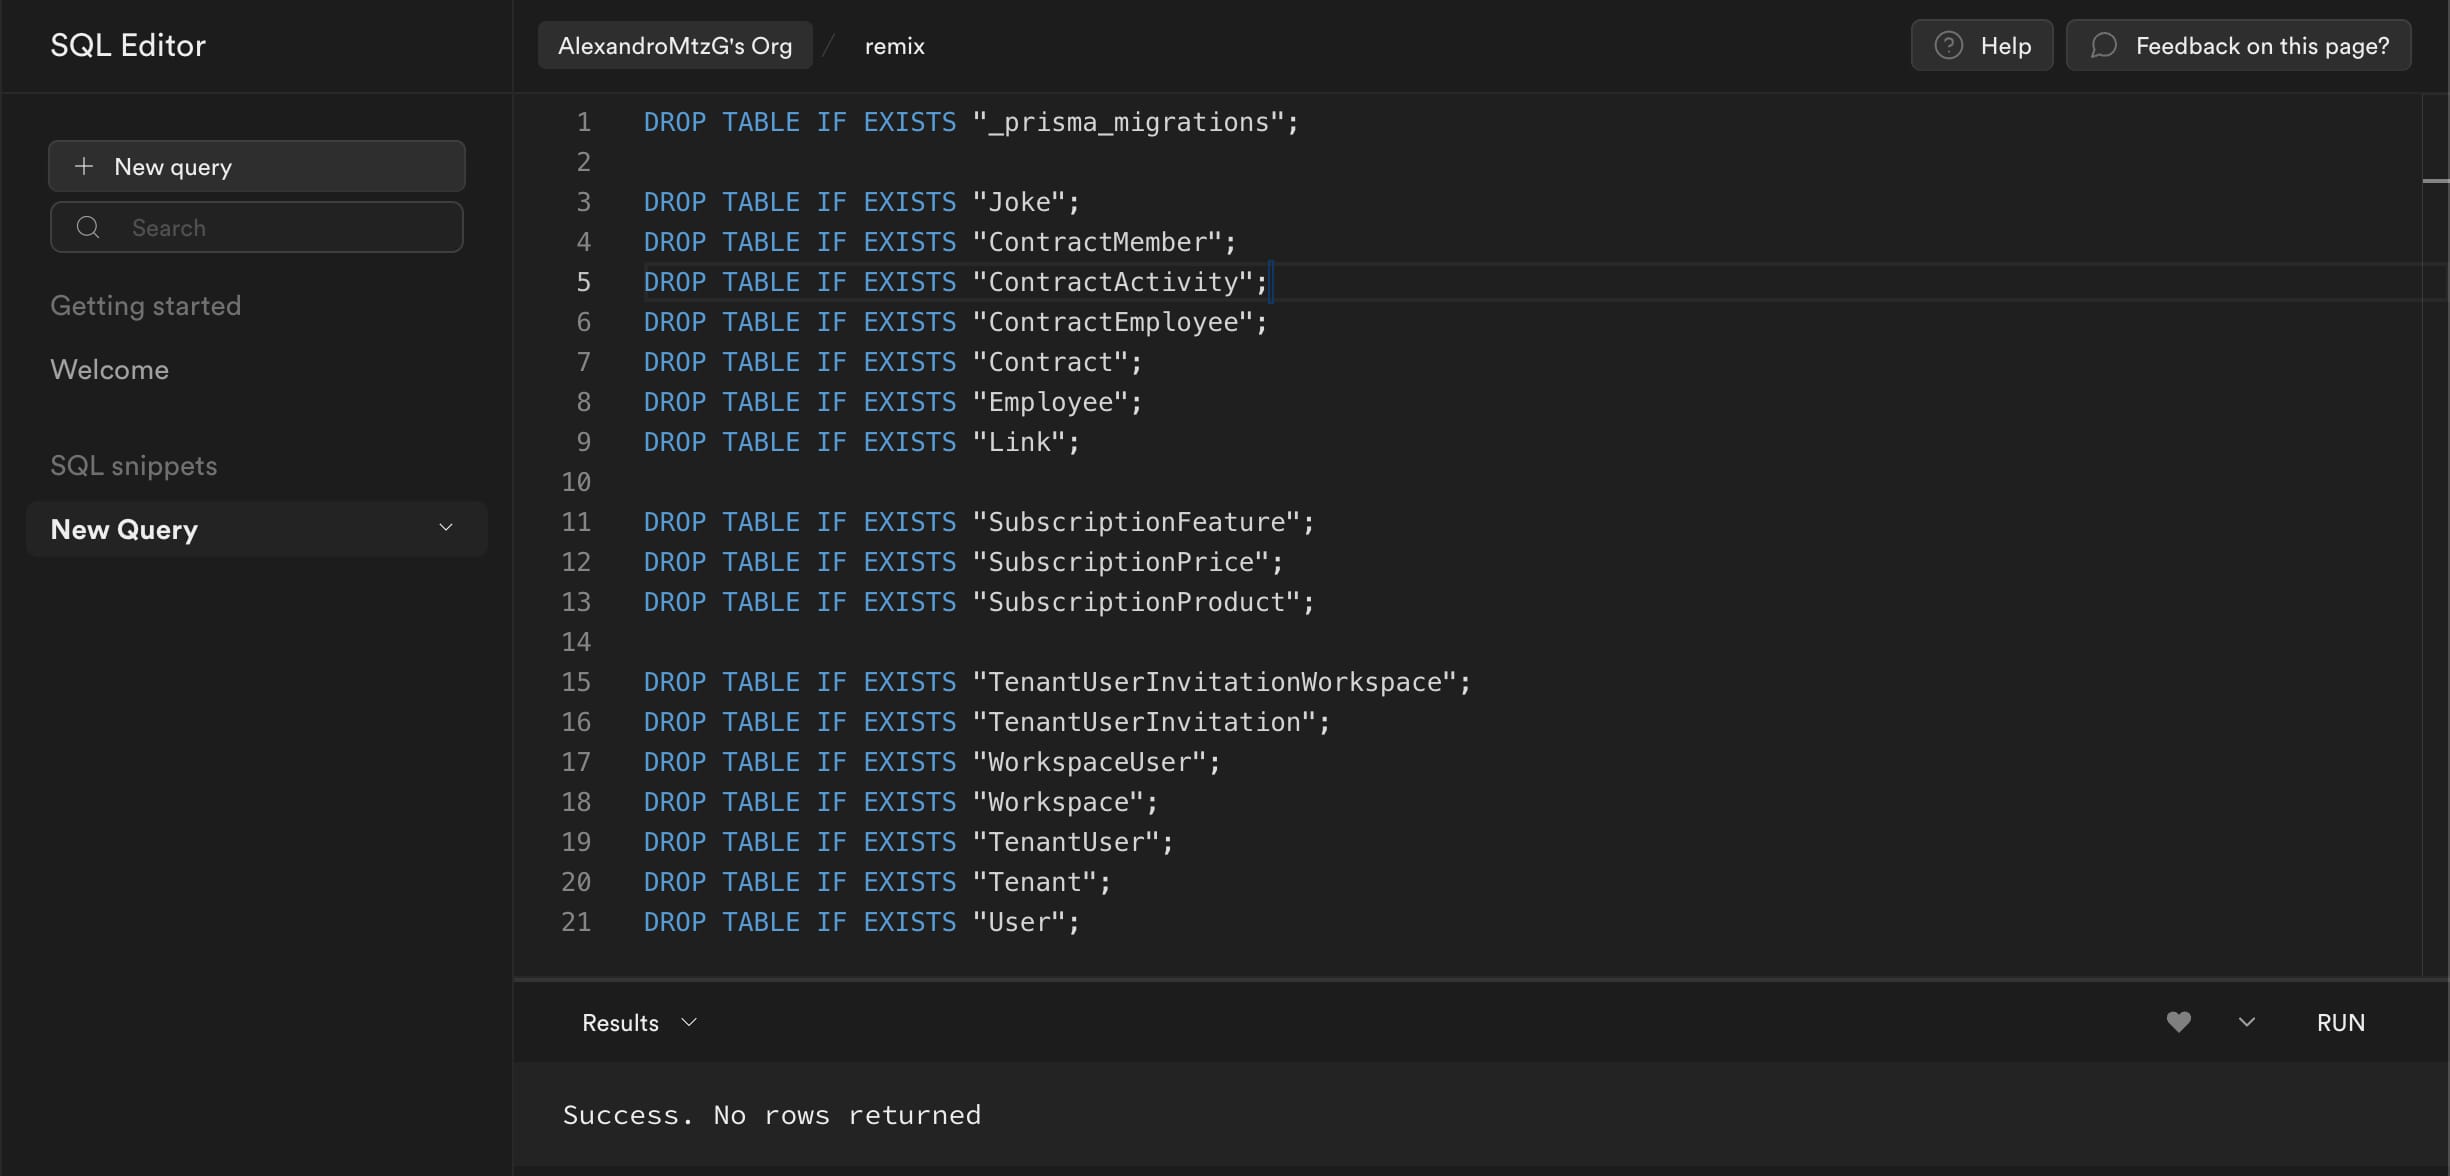
DROP TABLES Script:
DROP TABLE IF EXISTS "_prisma_migrations";
DROP TABLE IF EXISTS "Joke";
DROP TABLE IF EXISTS "ContractMember";
DROP TABLE IF EXISTS "ContractActivity";
DROP TABLE IF EXISTS "ContractEmployee";
DROP TABLE IF EXISTS "Contract";
DROP TABLE IF EXISTS "Employee";
DROP TABLE IF EXISTS "Link";
DROP TABLE IF EXISTS "SubscriptionFeature";
DROP TABLE IF EXISTS "SubscriptionPrice";
DROP TABLE IF EXISTS "SubscriptionProduct";
DROP TABLE IF EXISTS "TenantUserInvitationWorkspace";
DROP TABLE IF EXISTS "TenantUserInvitation";
DROP TABLE IF EXISTS "WorkspaceUser";
DROP TABLE IF EXISTS "Workspace";
DROP TABLE IF EXISTS "TenantUser";
DROP TABLE IF EXISTS "Tenant";
DROP TABLE IF EXISTS "User";
Up to this point, you should have 3 commits:
2.4) App:
If you haven’t already, install the dependencies:
npm install
Run the application:
npm run dev
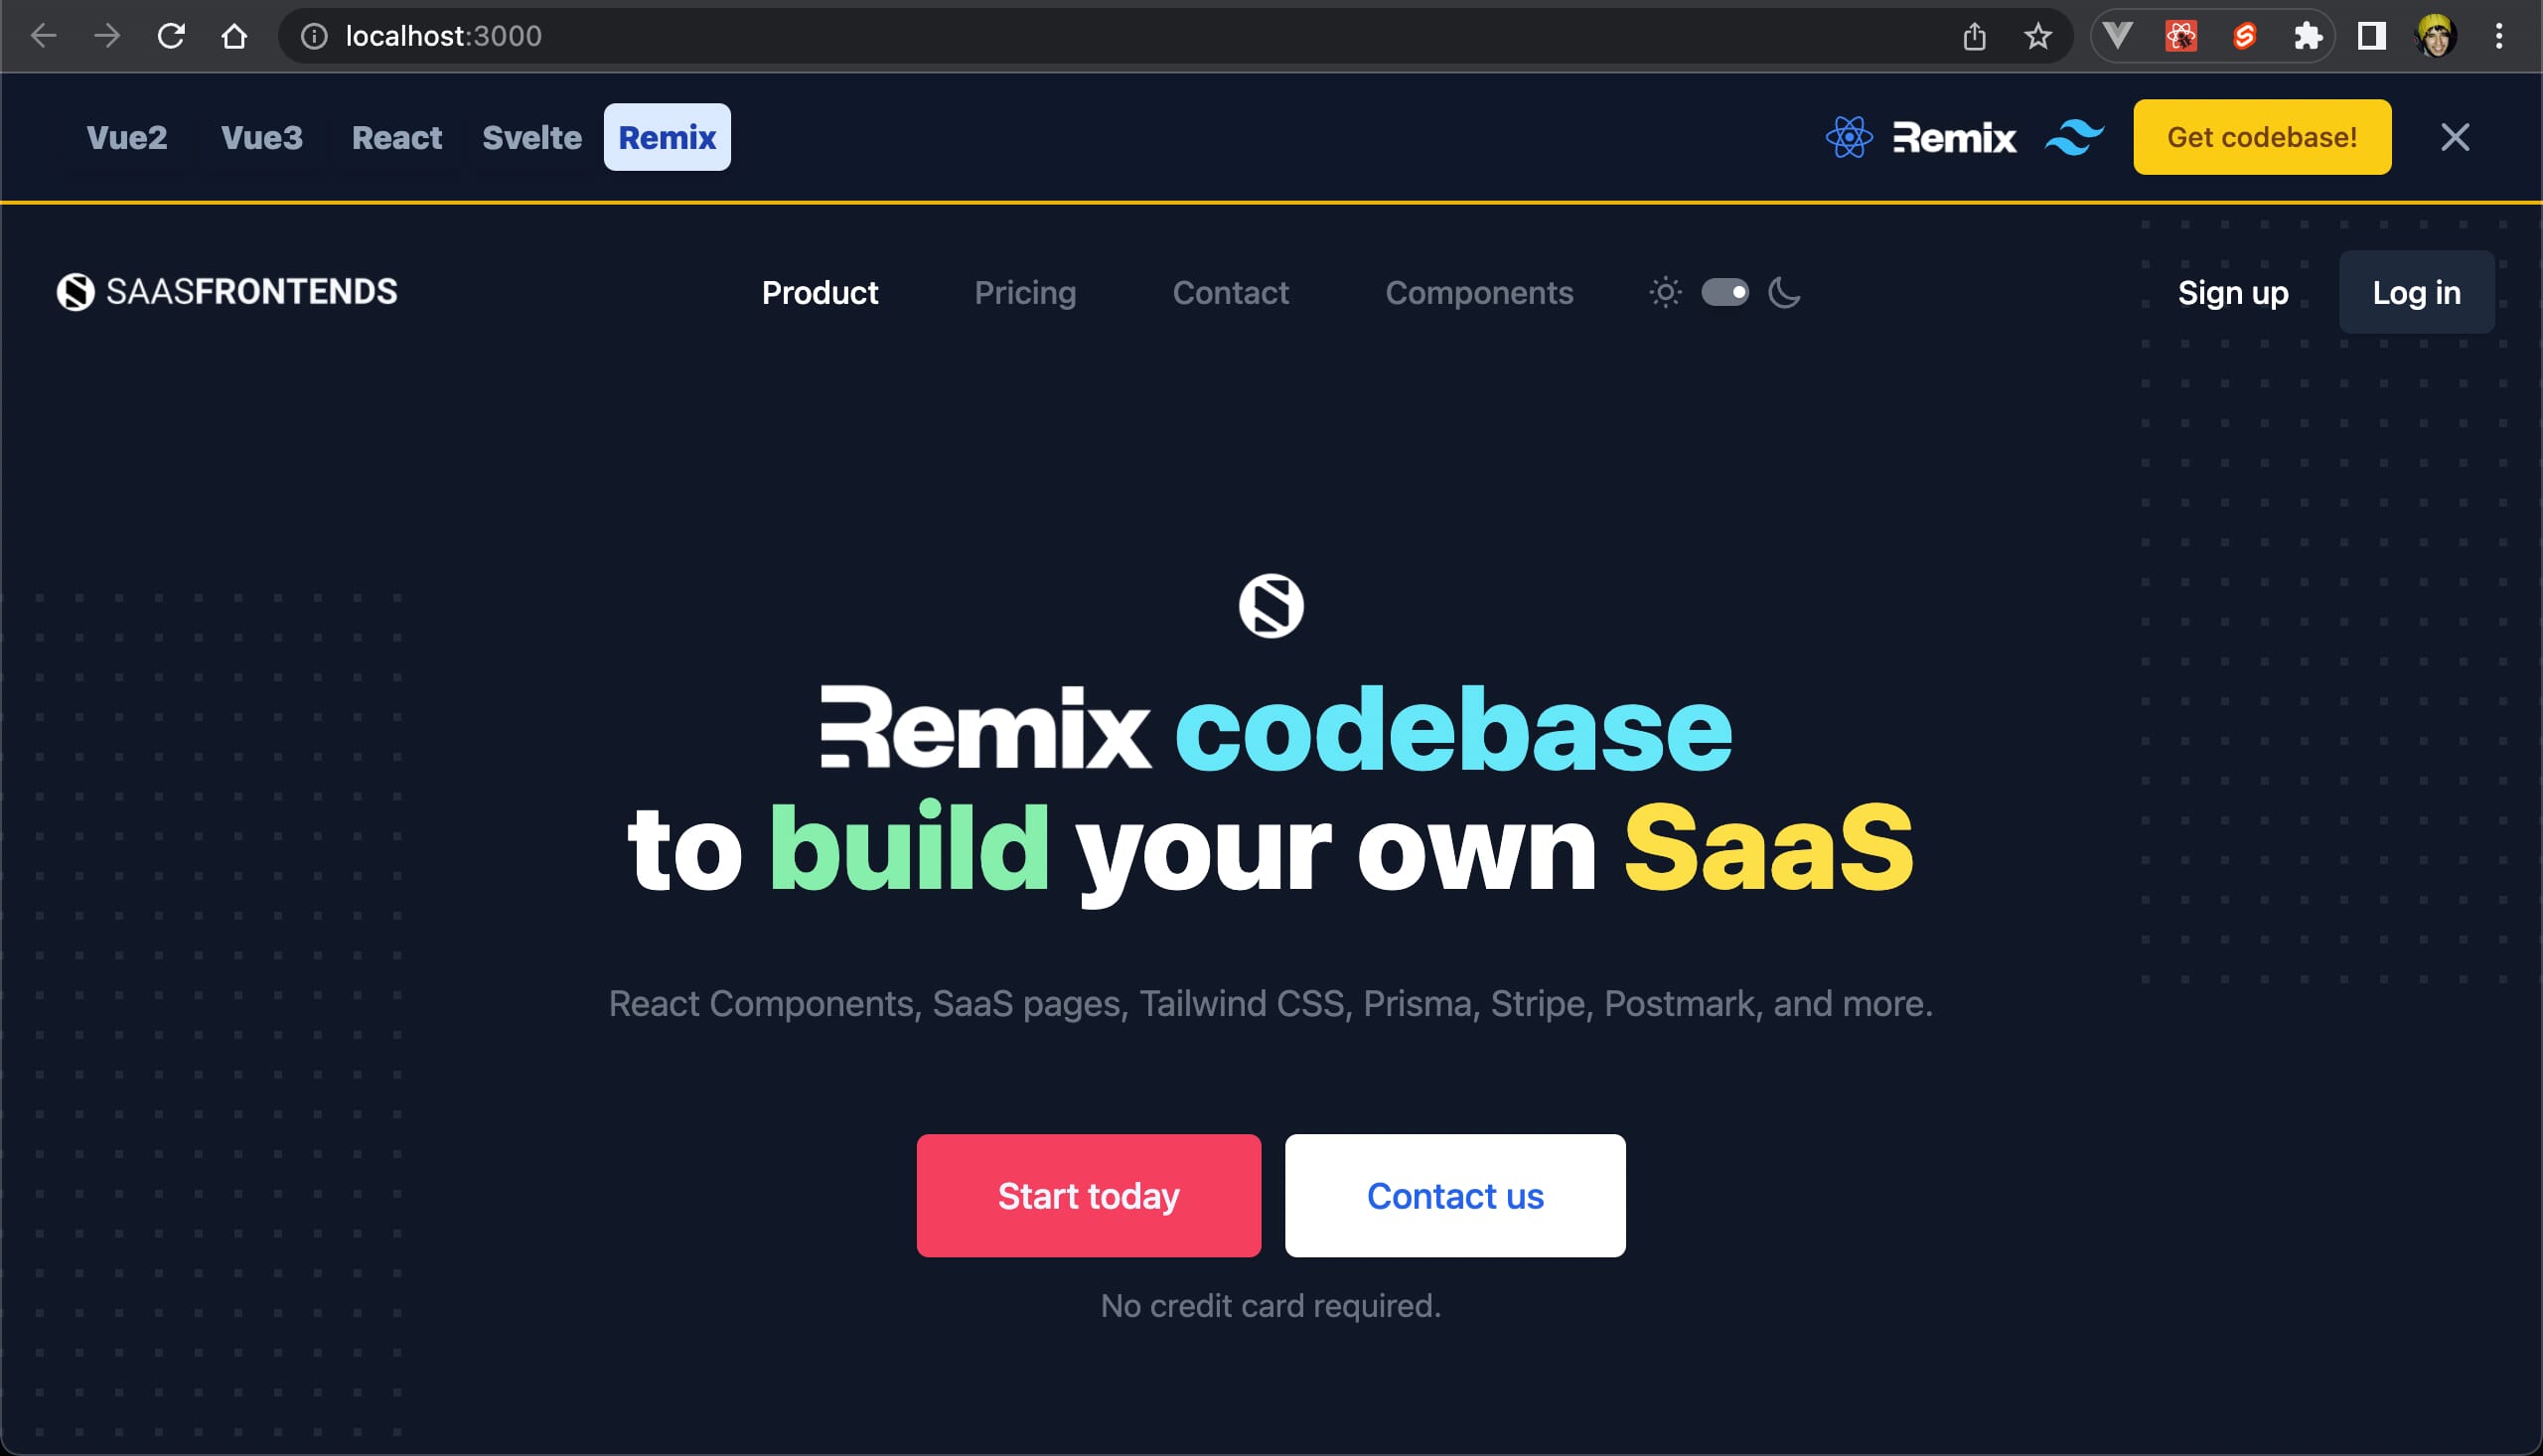
Open https://localhost:3000, you should see the landing page:
Click on the Dark/Light mode Toggle:
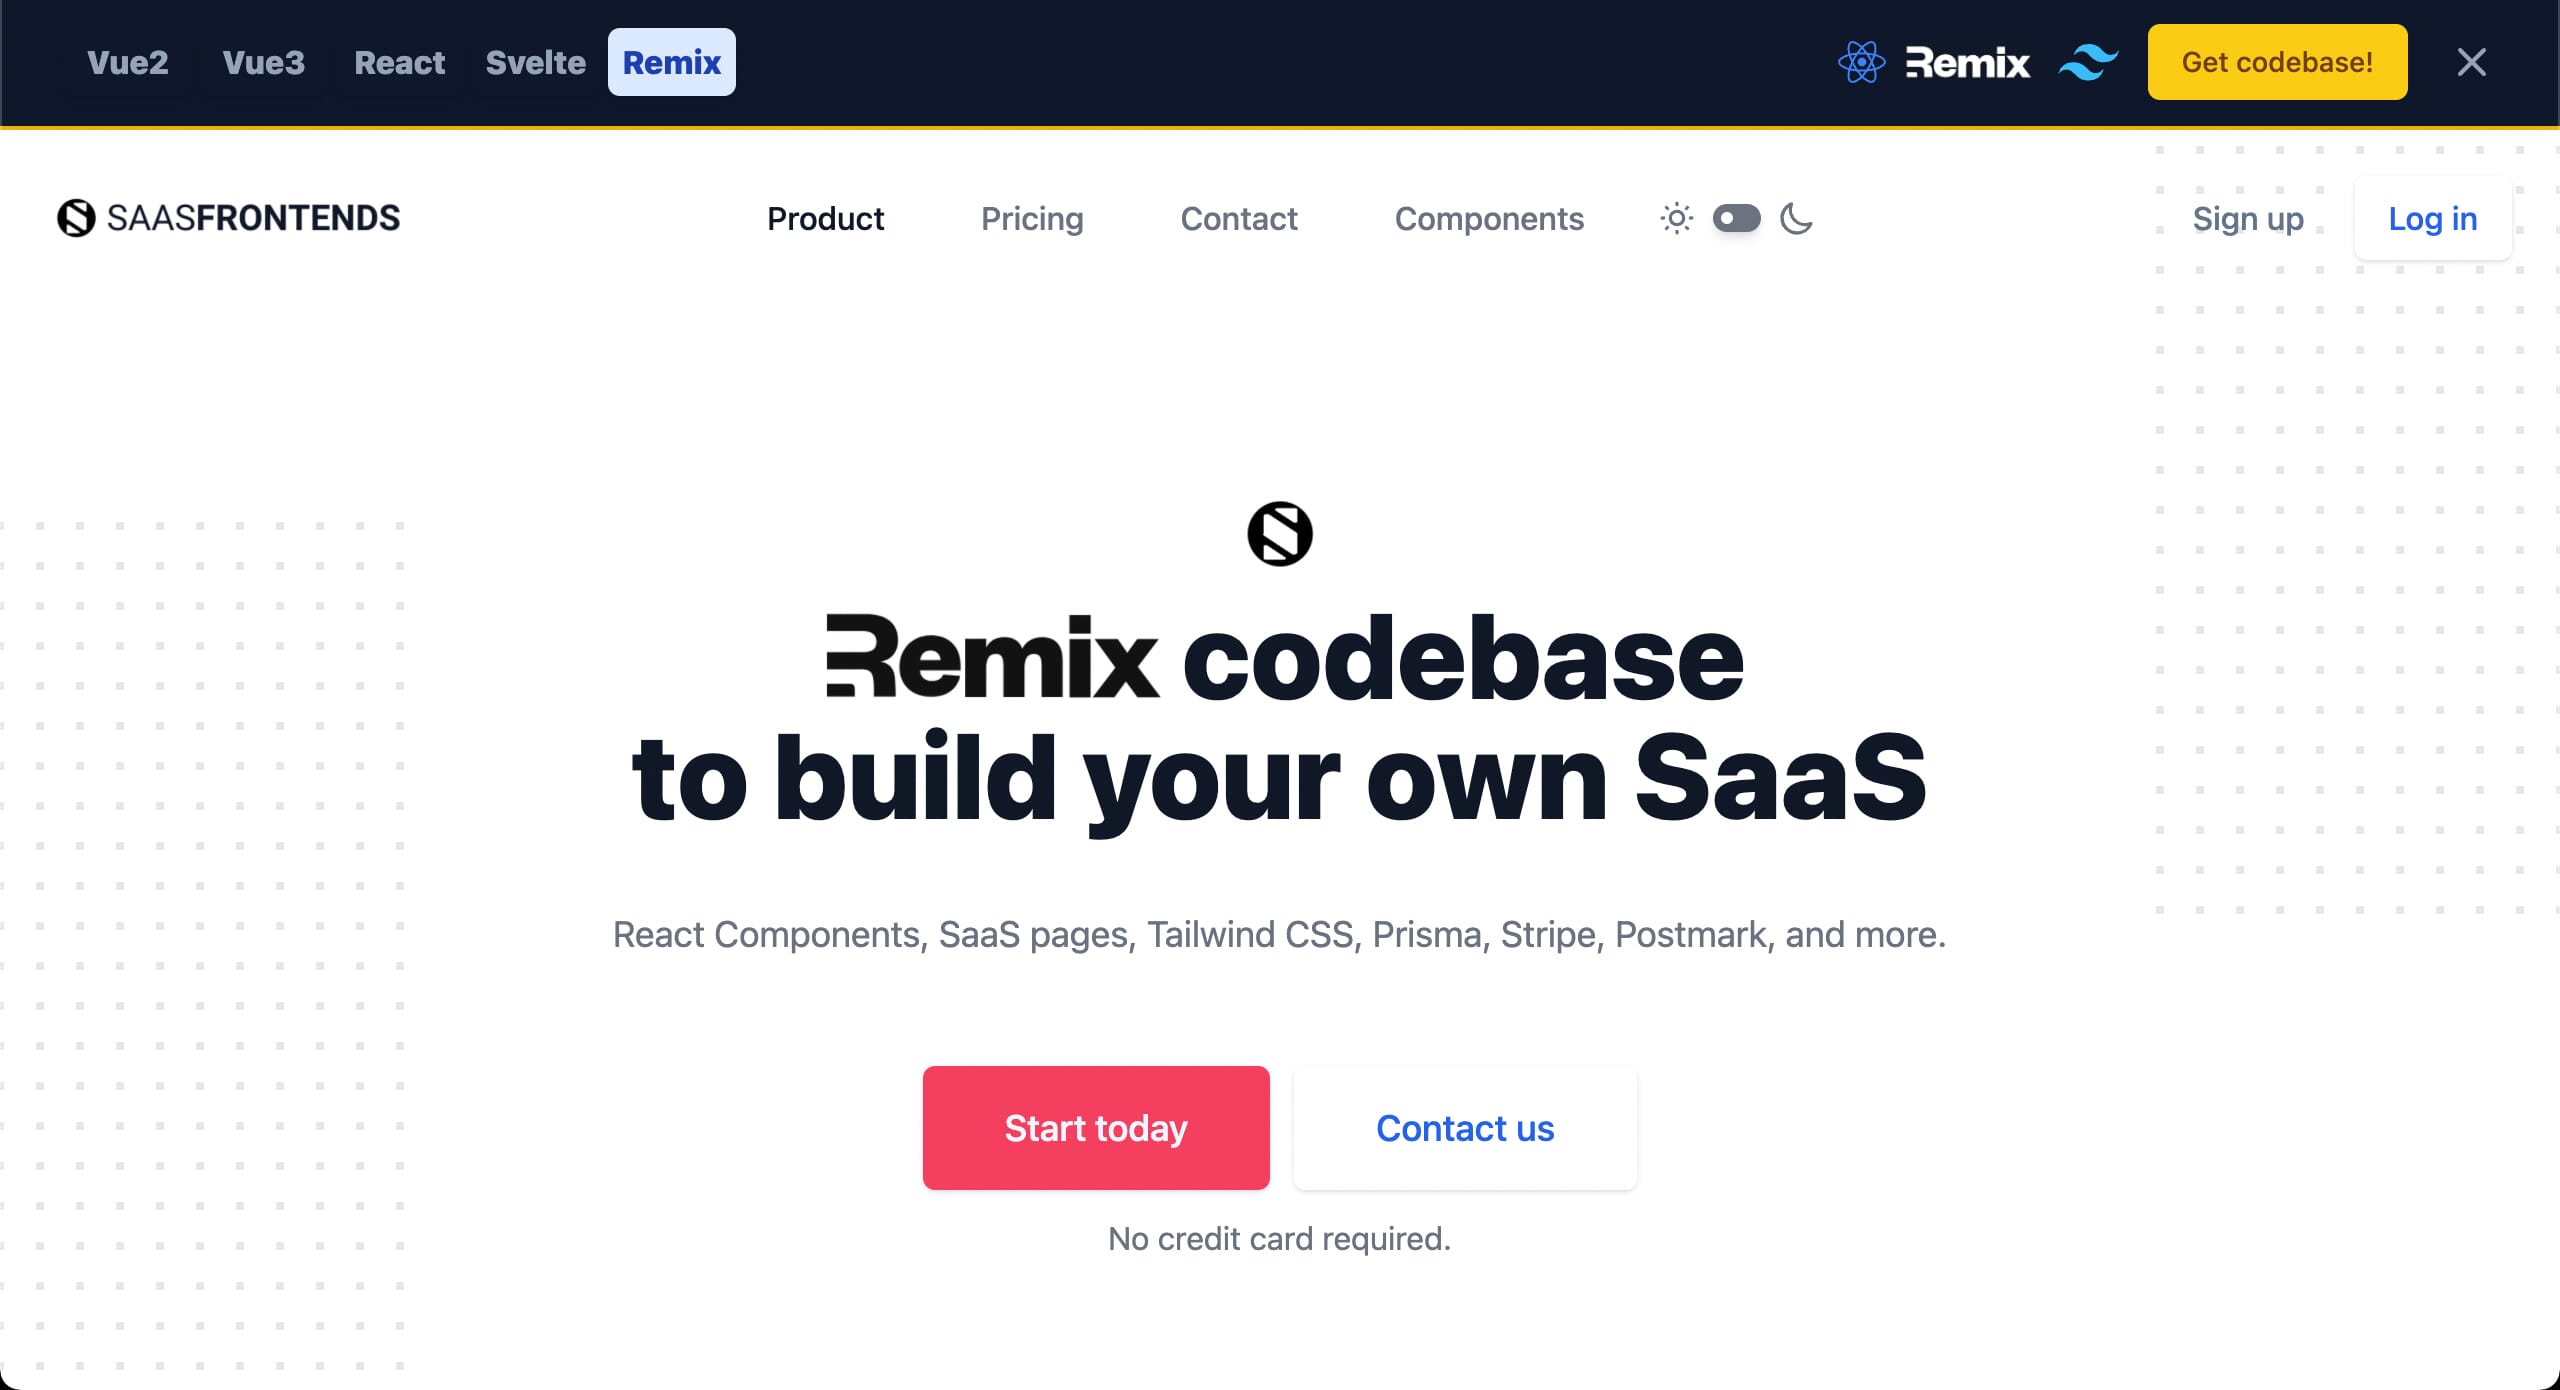
Get rid of the <TopBanner /> component, or customize it if you’re advertising something, like me (other SaaS kits).

Go to the /pricing page and click on Go to /admin/pricing.
NOTE: Before we persist the Prices to the database, you can play with the pricing by modifying the plans.server.ts file.

Log in as your admin user. If successful, it will redirect you with a Session Cookie to /admin/pricing.
Here we can persist the prices to our database and to our Stripe account by clicking the orange button.
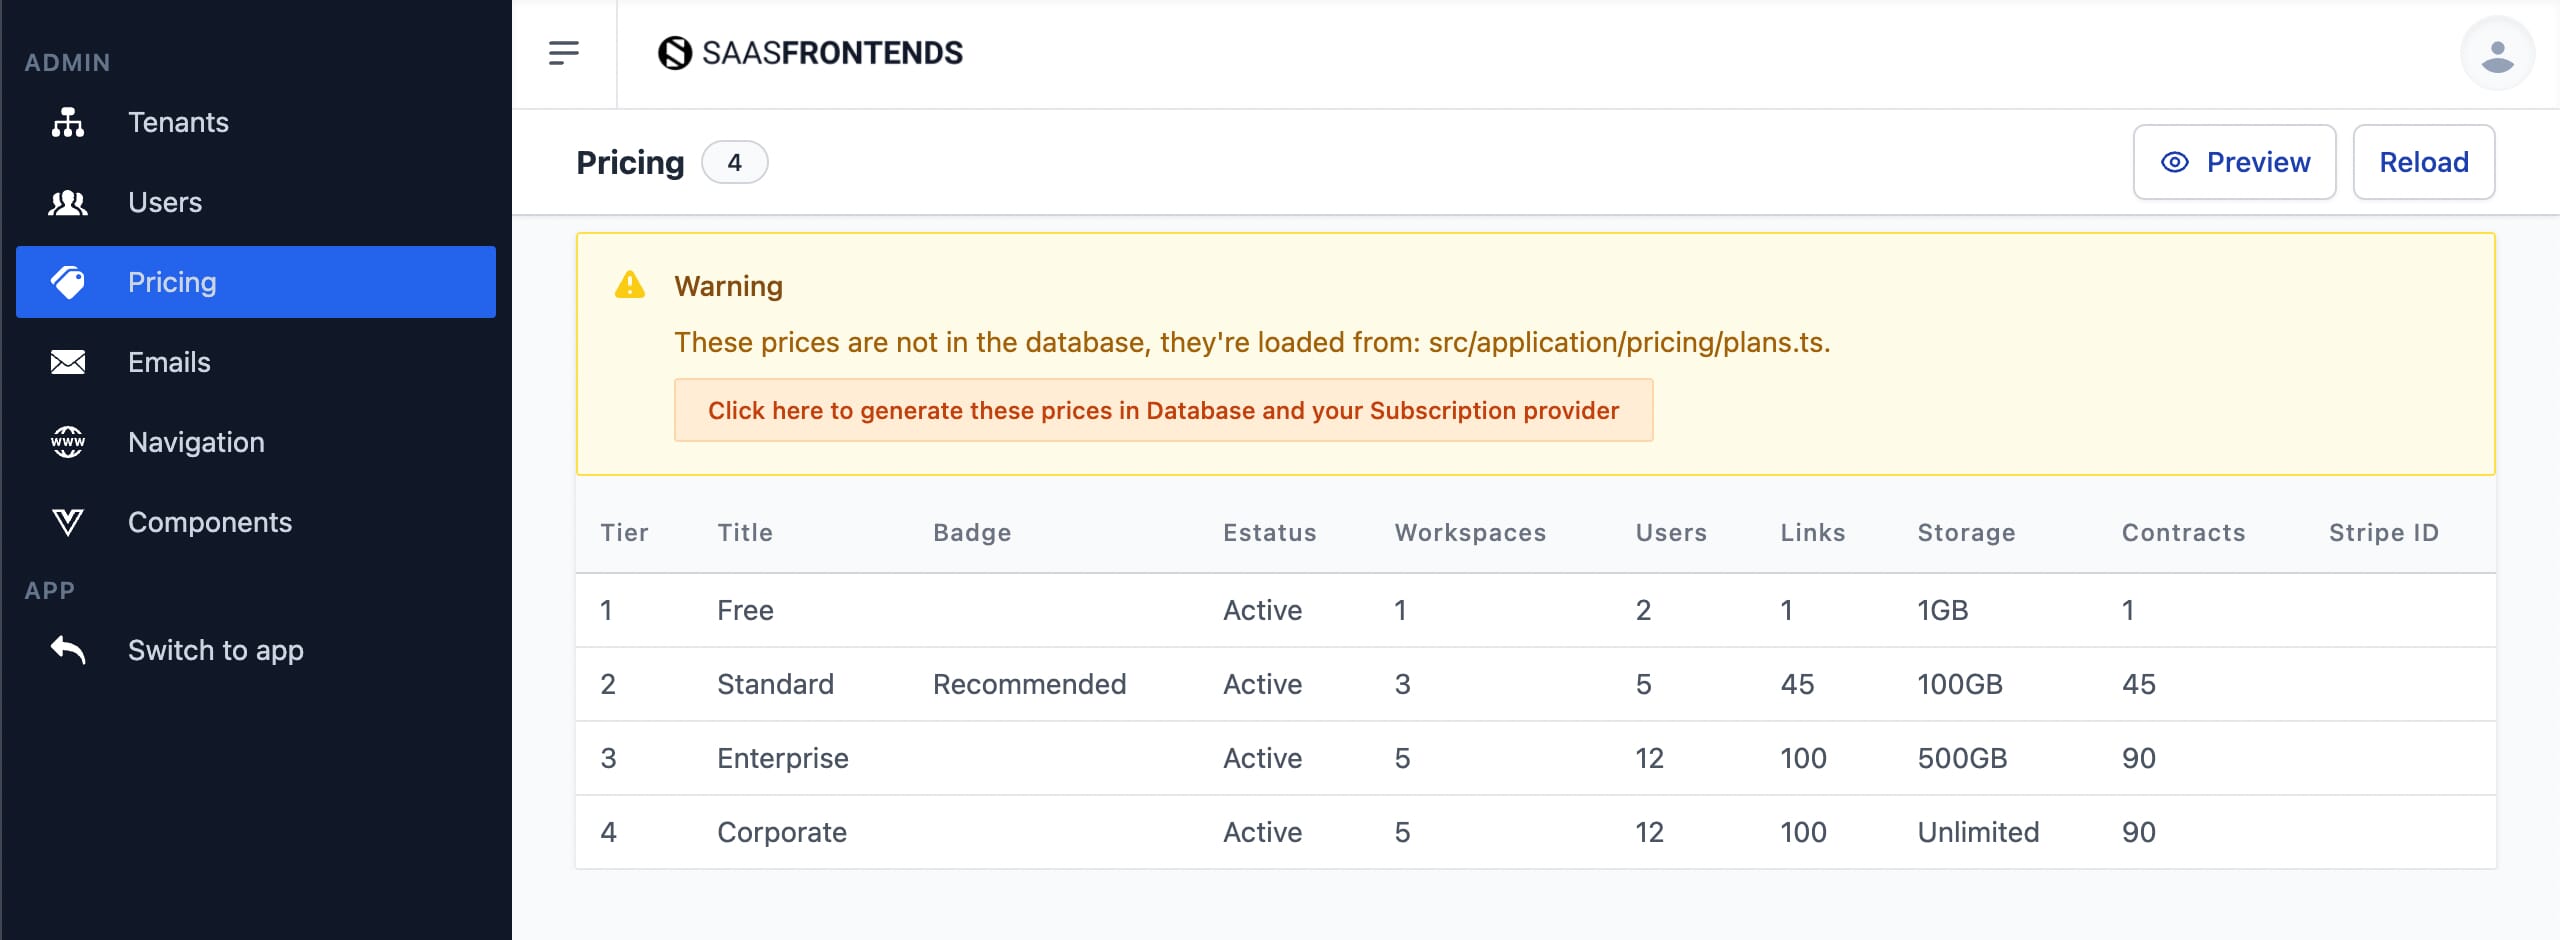
NOTE: If you’ve persisted the prices to your DB and Stripe, but you want to make a change, you could manually DELETE the records on the following tables: “SubscriptionFeature”, “SubscriptionPrice” and “SubscriptionProduct”.

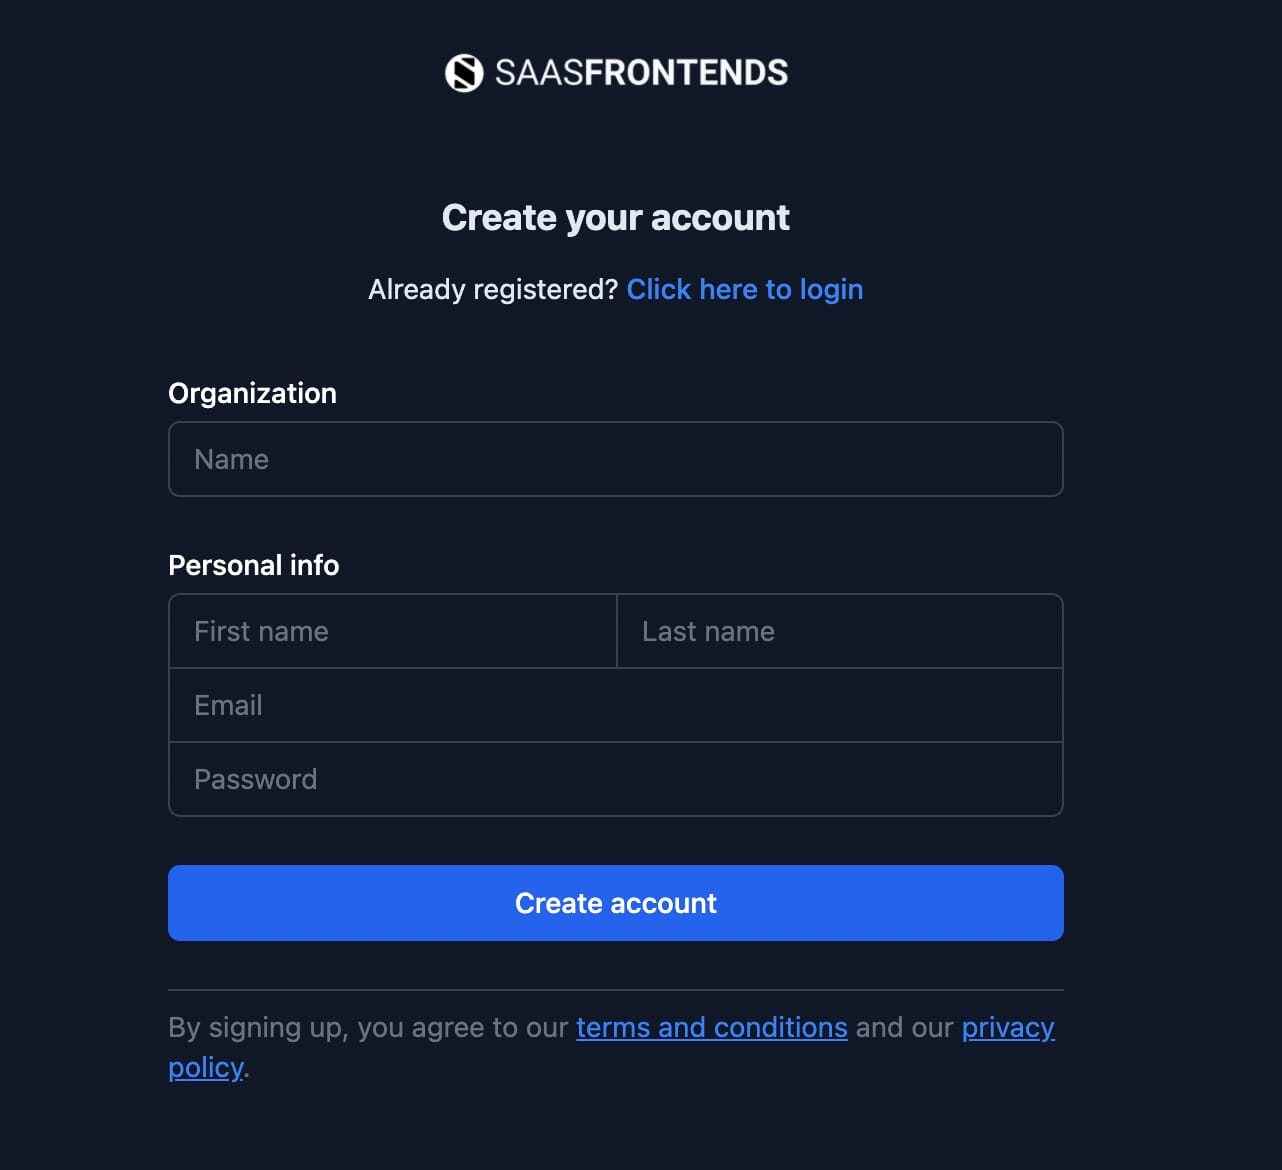
Now that our prices exist, go to /register and create a sample account (with a real email to get the Welcome email).
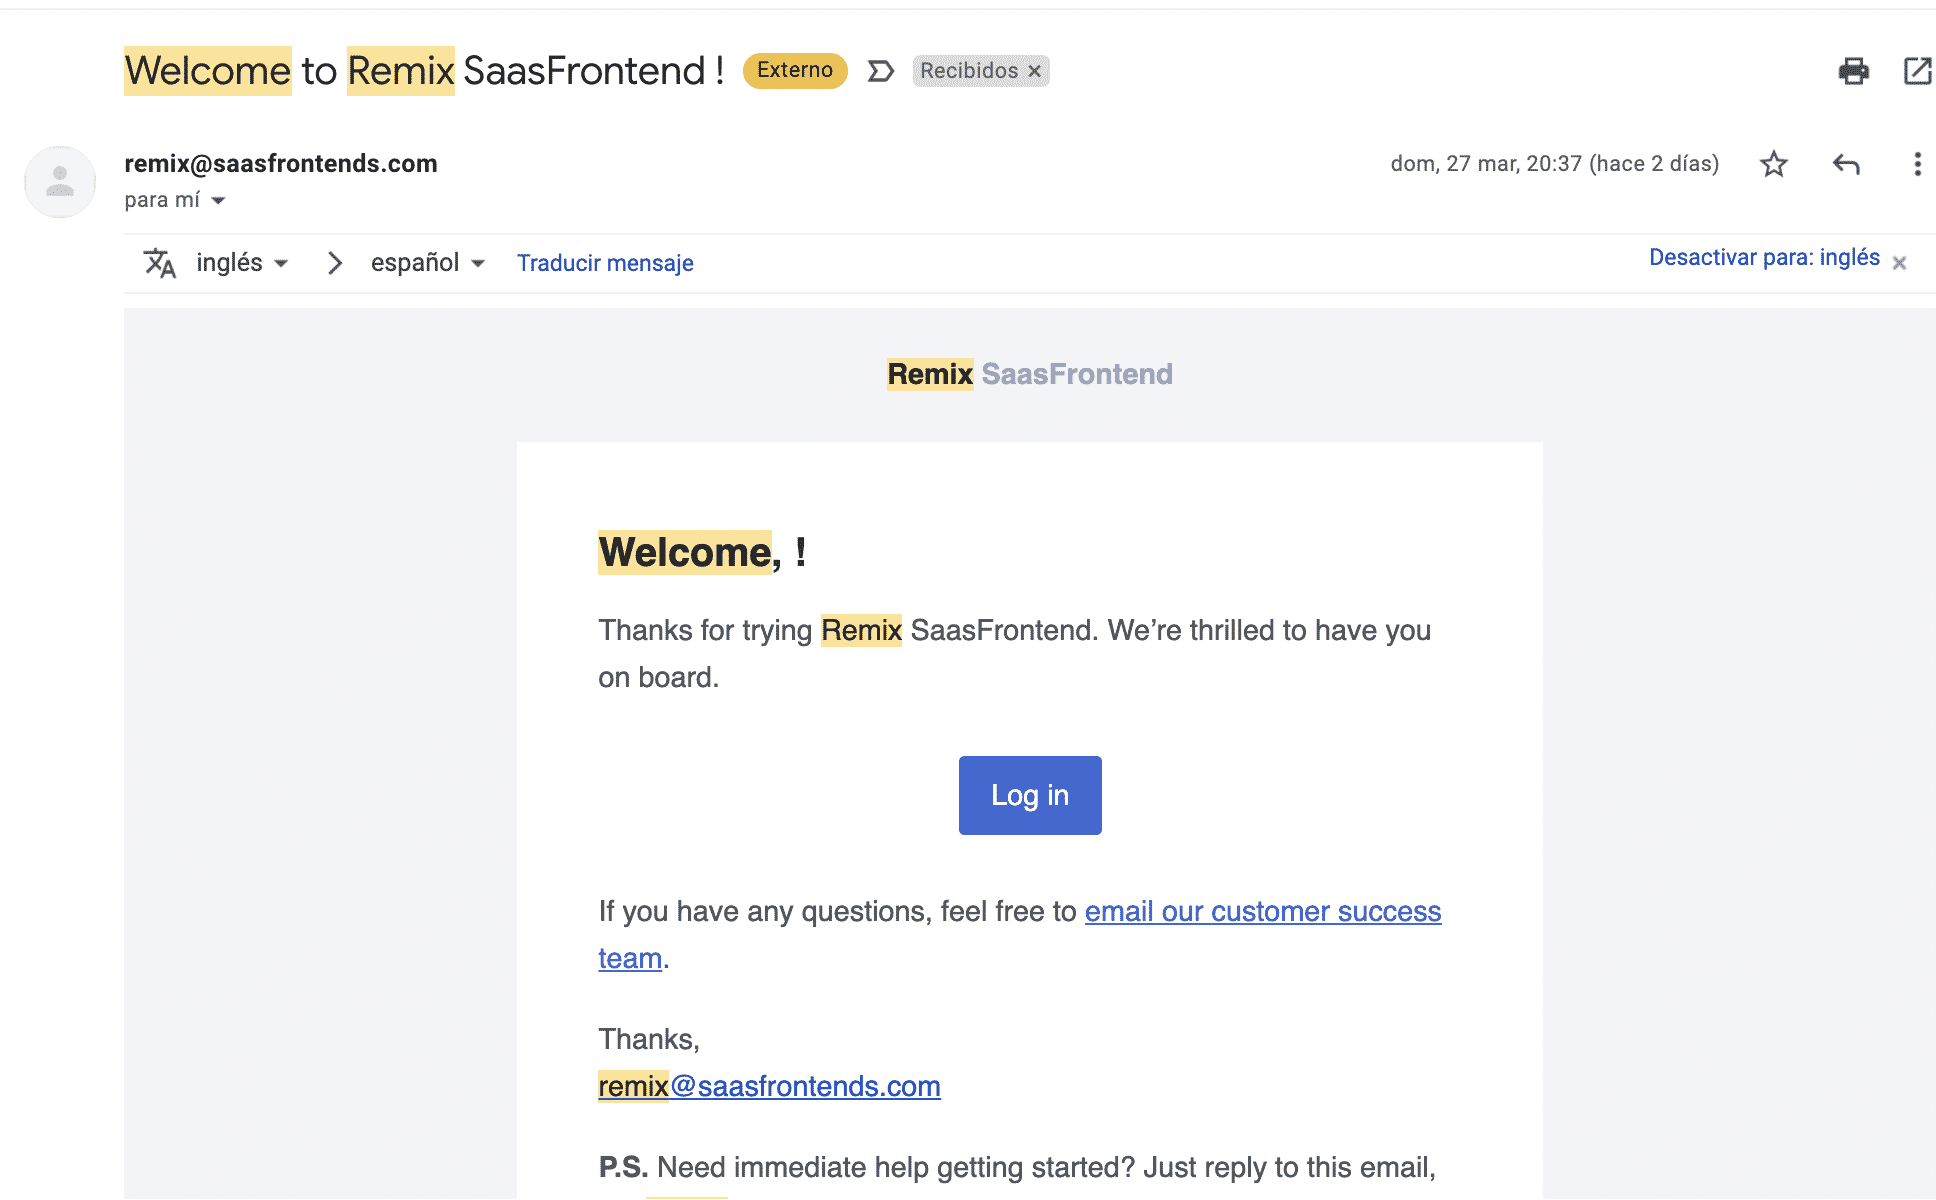
You should get a welcome email.
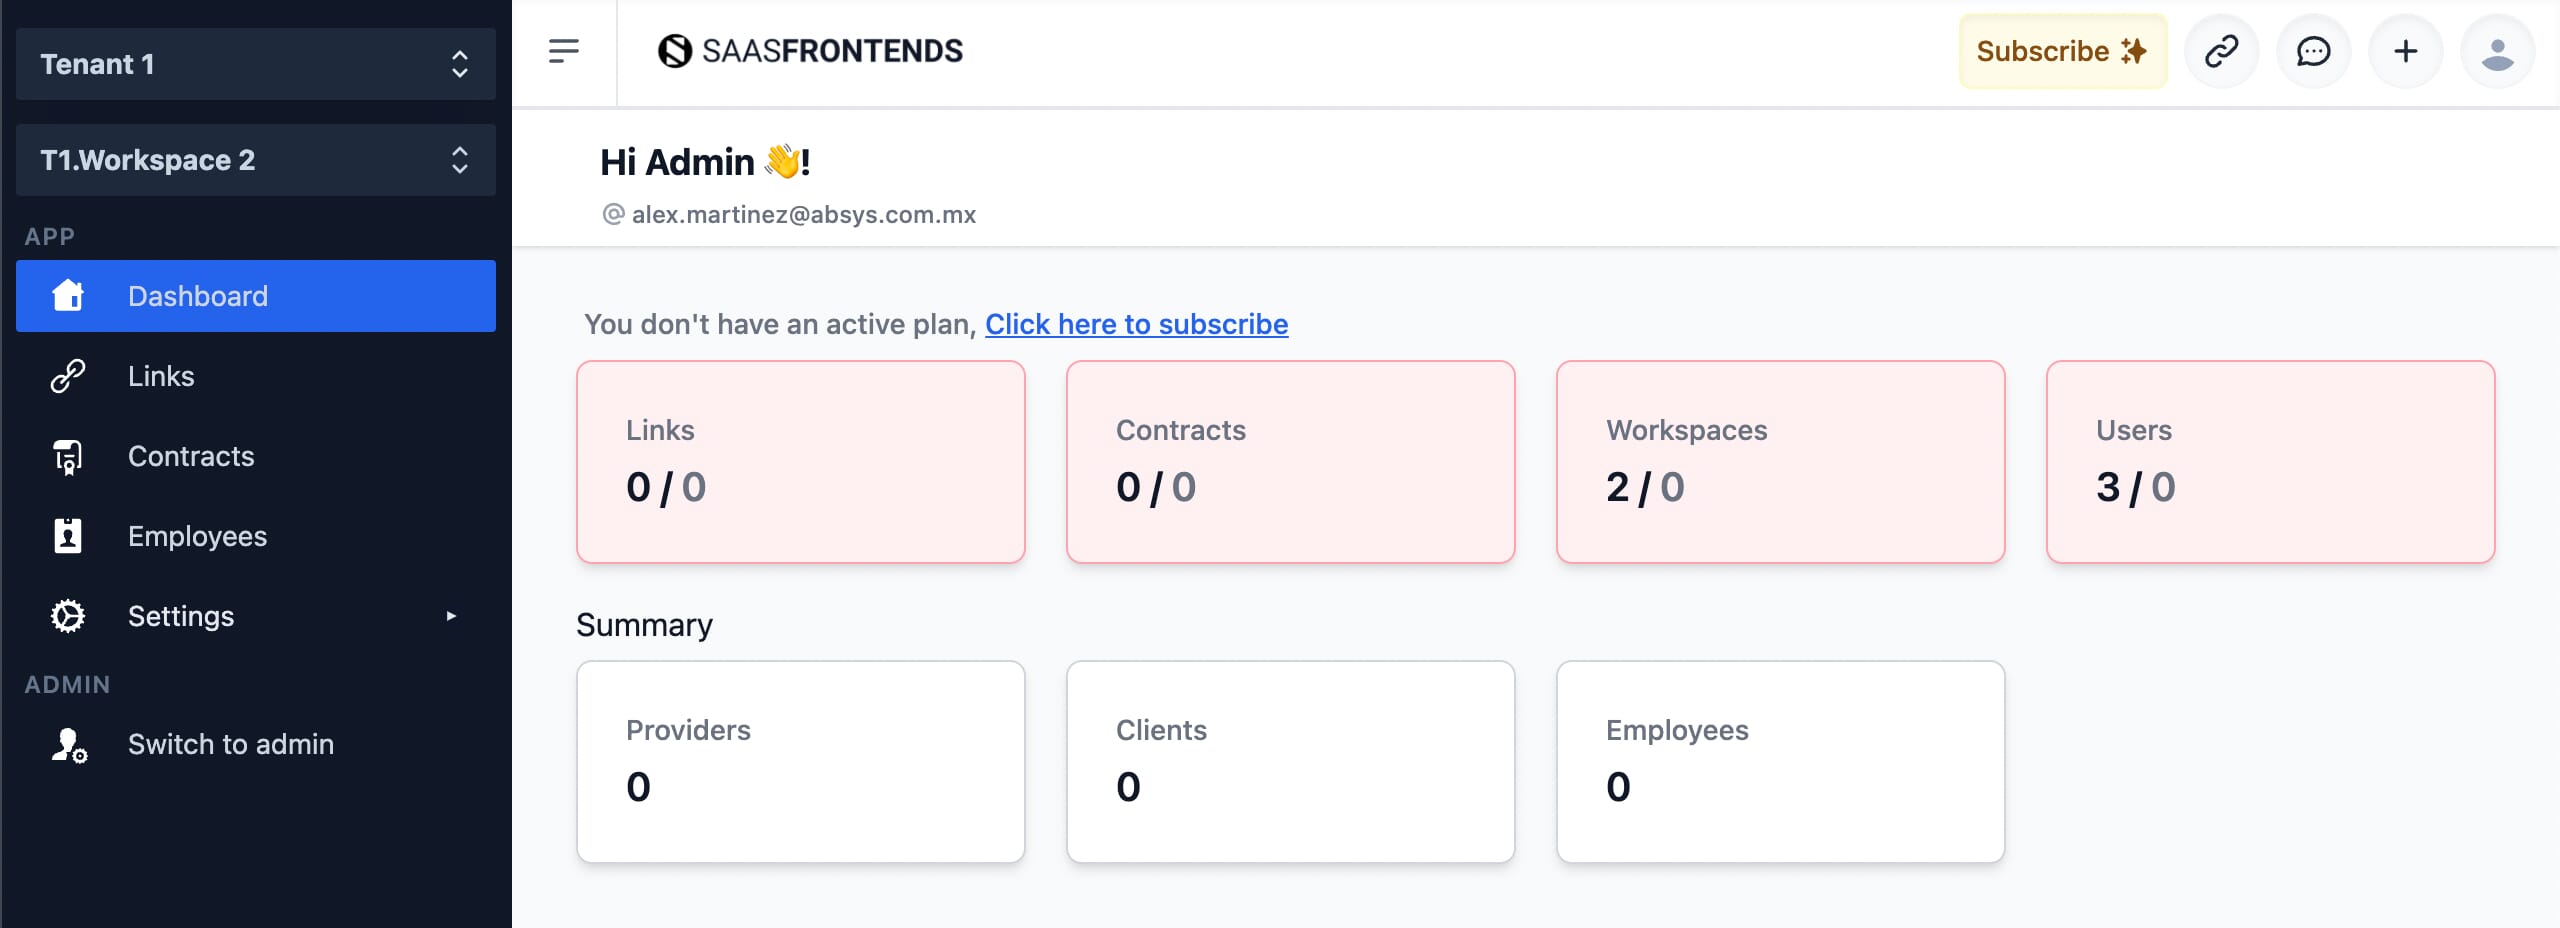
You will be redirected to the Dashboard:
That’s all you need to get started using the boilerplate. And of course, you could also follow the README.md file.
—
Please let me know if you have any questions.
